

About the Juicing Strainer
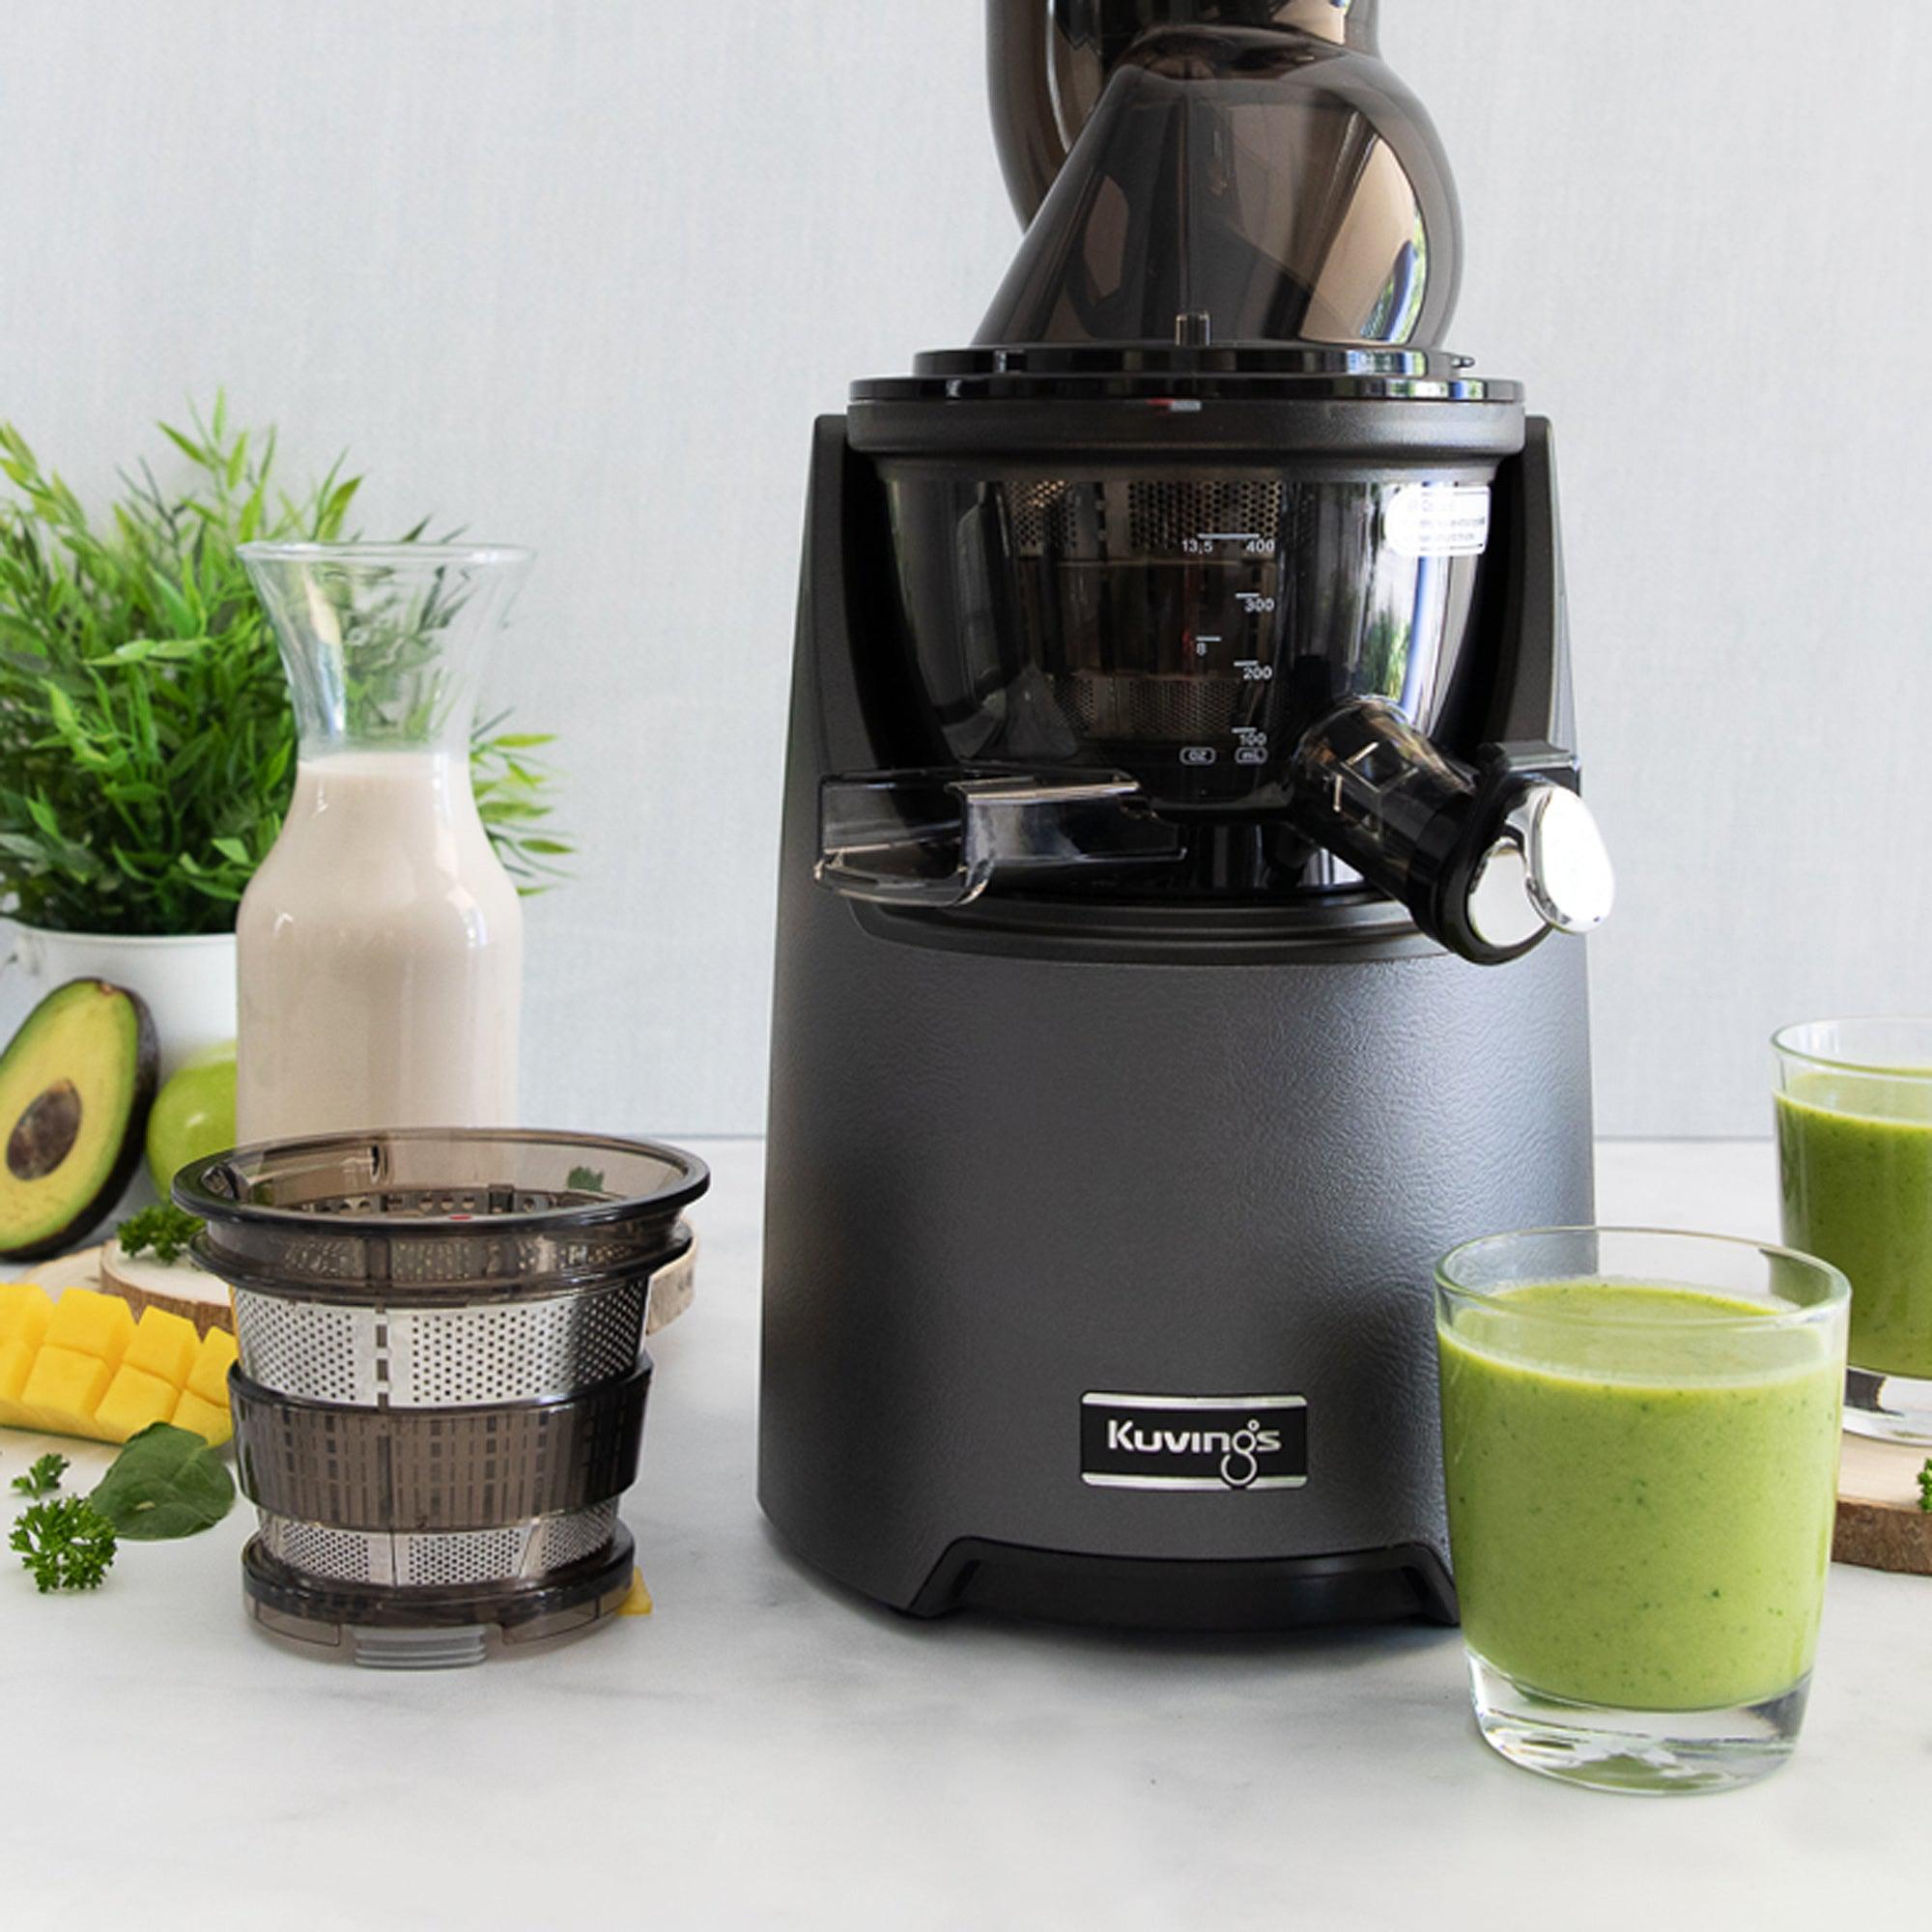
The juicing strainer is the most crucial part of making juice and milk because it separates the liquid from the solids.
People confuse the juicing strainer and the smoothie strainer because they look similar. The juicing strainer has small holes all around and a rectangular hole on the base for the pulp. The smoothie strainer features larger holes all around and a silicone plug at the bottom where the pulp typically comes out. If you’re unsure which is which, their top rims say “JUICING” and “SMOOTHIE”.

How to Use the Juicing Strainer for Juice
1. Ingredients
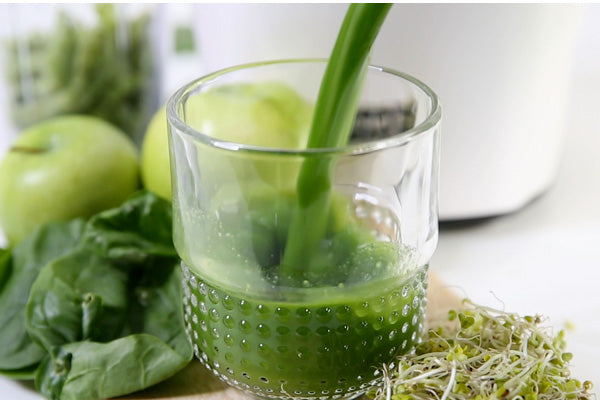
The best ingredients for juicing are fresh, firm, and have a high water content, as they’ll produce a higher yield and drier pulp.
Softer ingredients make pulpier juices and wetter pulp. We often recommend juicing soft or fibrous ingredients with firmer ones for better yields and fewer chances of clogging.
We advise against juicing hard pits or super tough ingredients, as they can damage the juicing strainer and other parts.
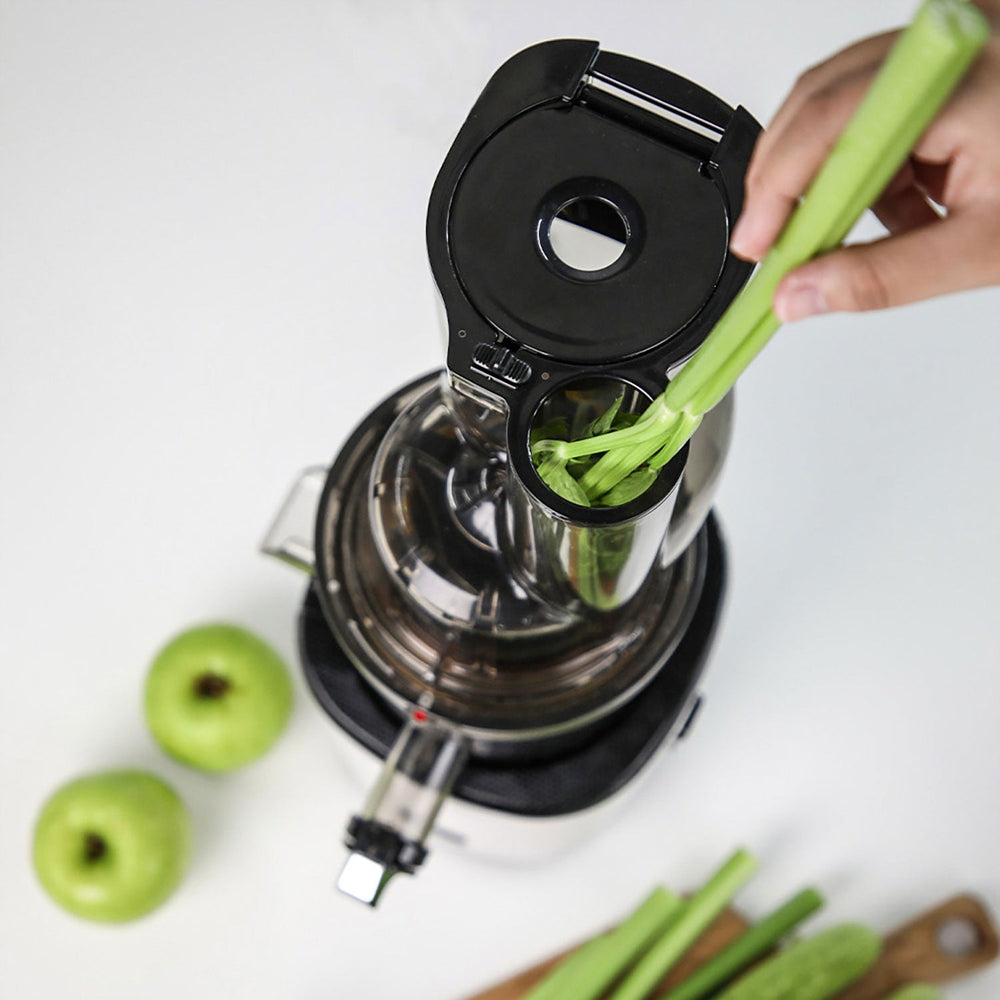
2. Insertion
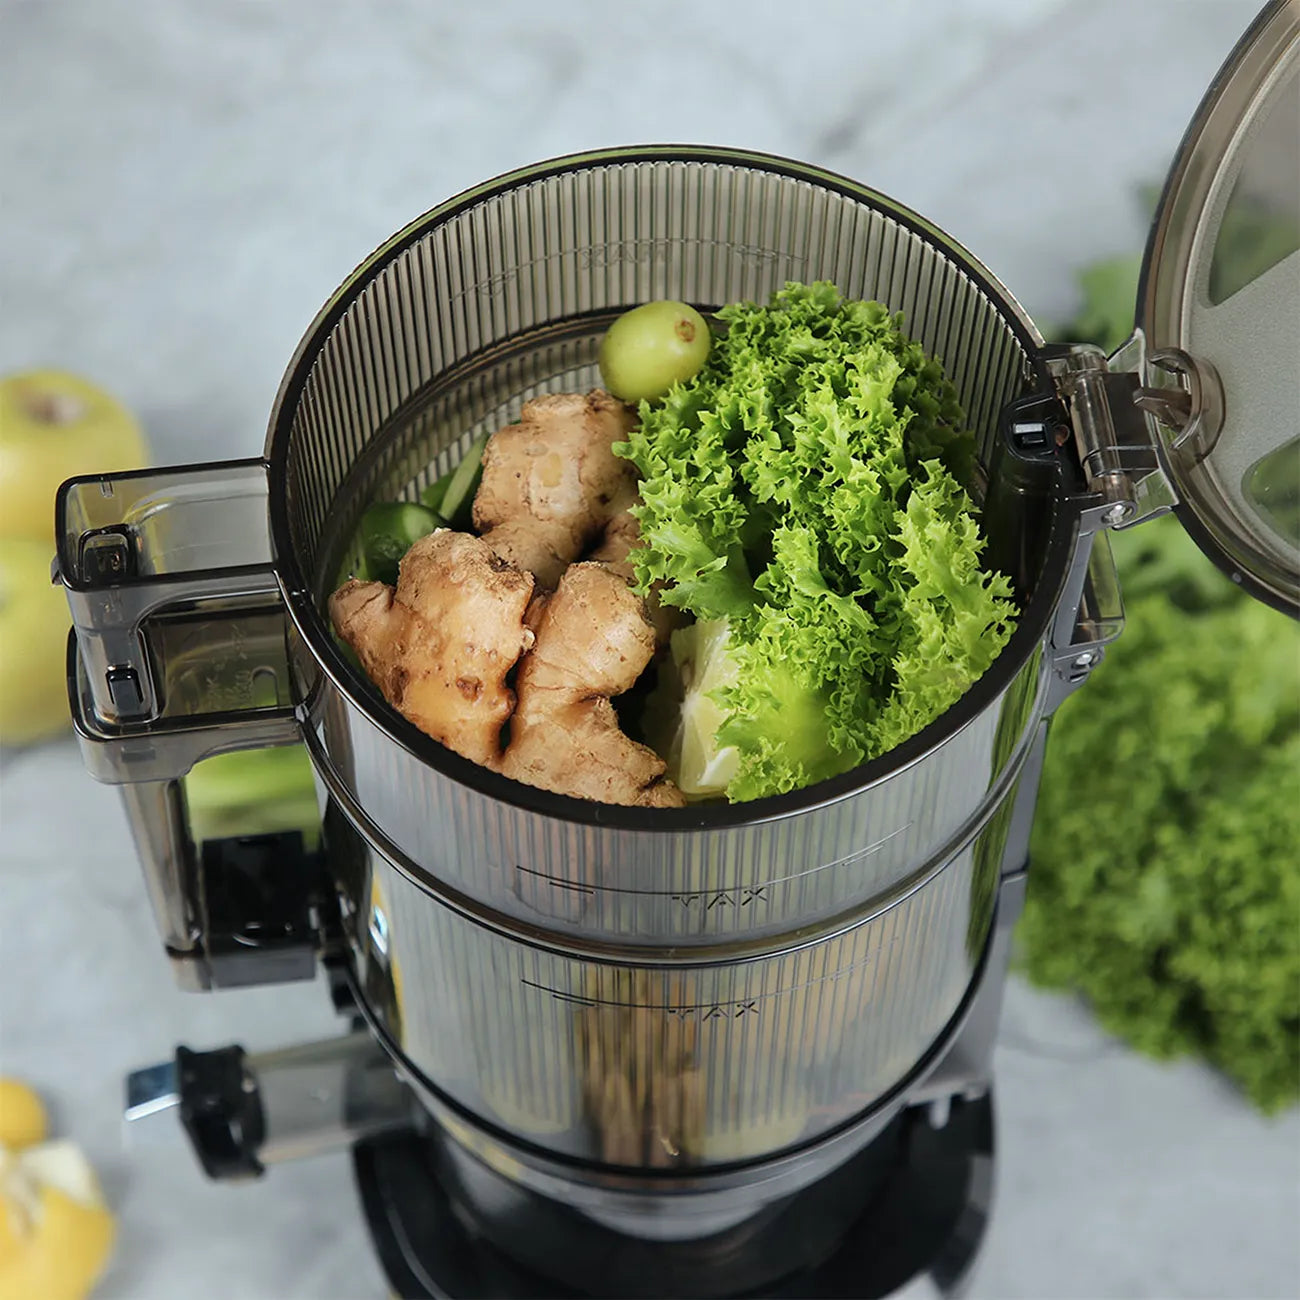
If you have a hands-free juicer, we recommend layering soft produce at the bottom of the hopper and hard produce at the top. This allows the hard produce to push the soft produce through the juicer for more seamless juicing.
If you have a manual-feed juicer, we recommend alternating your soft and hard produce and ending with something hard.
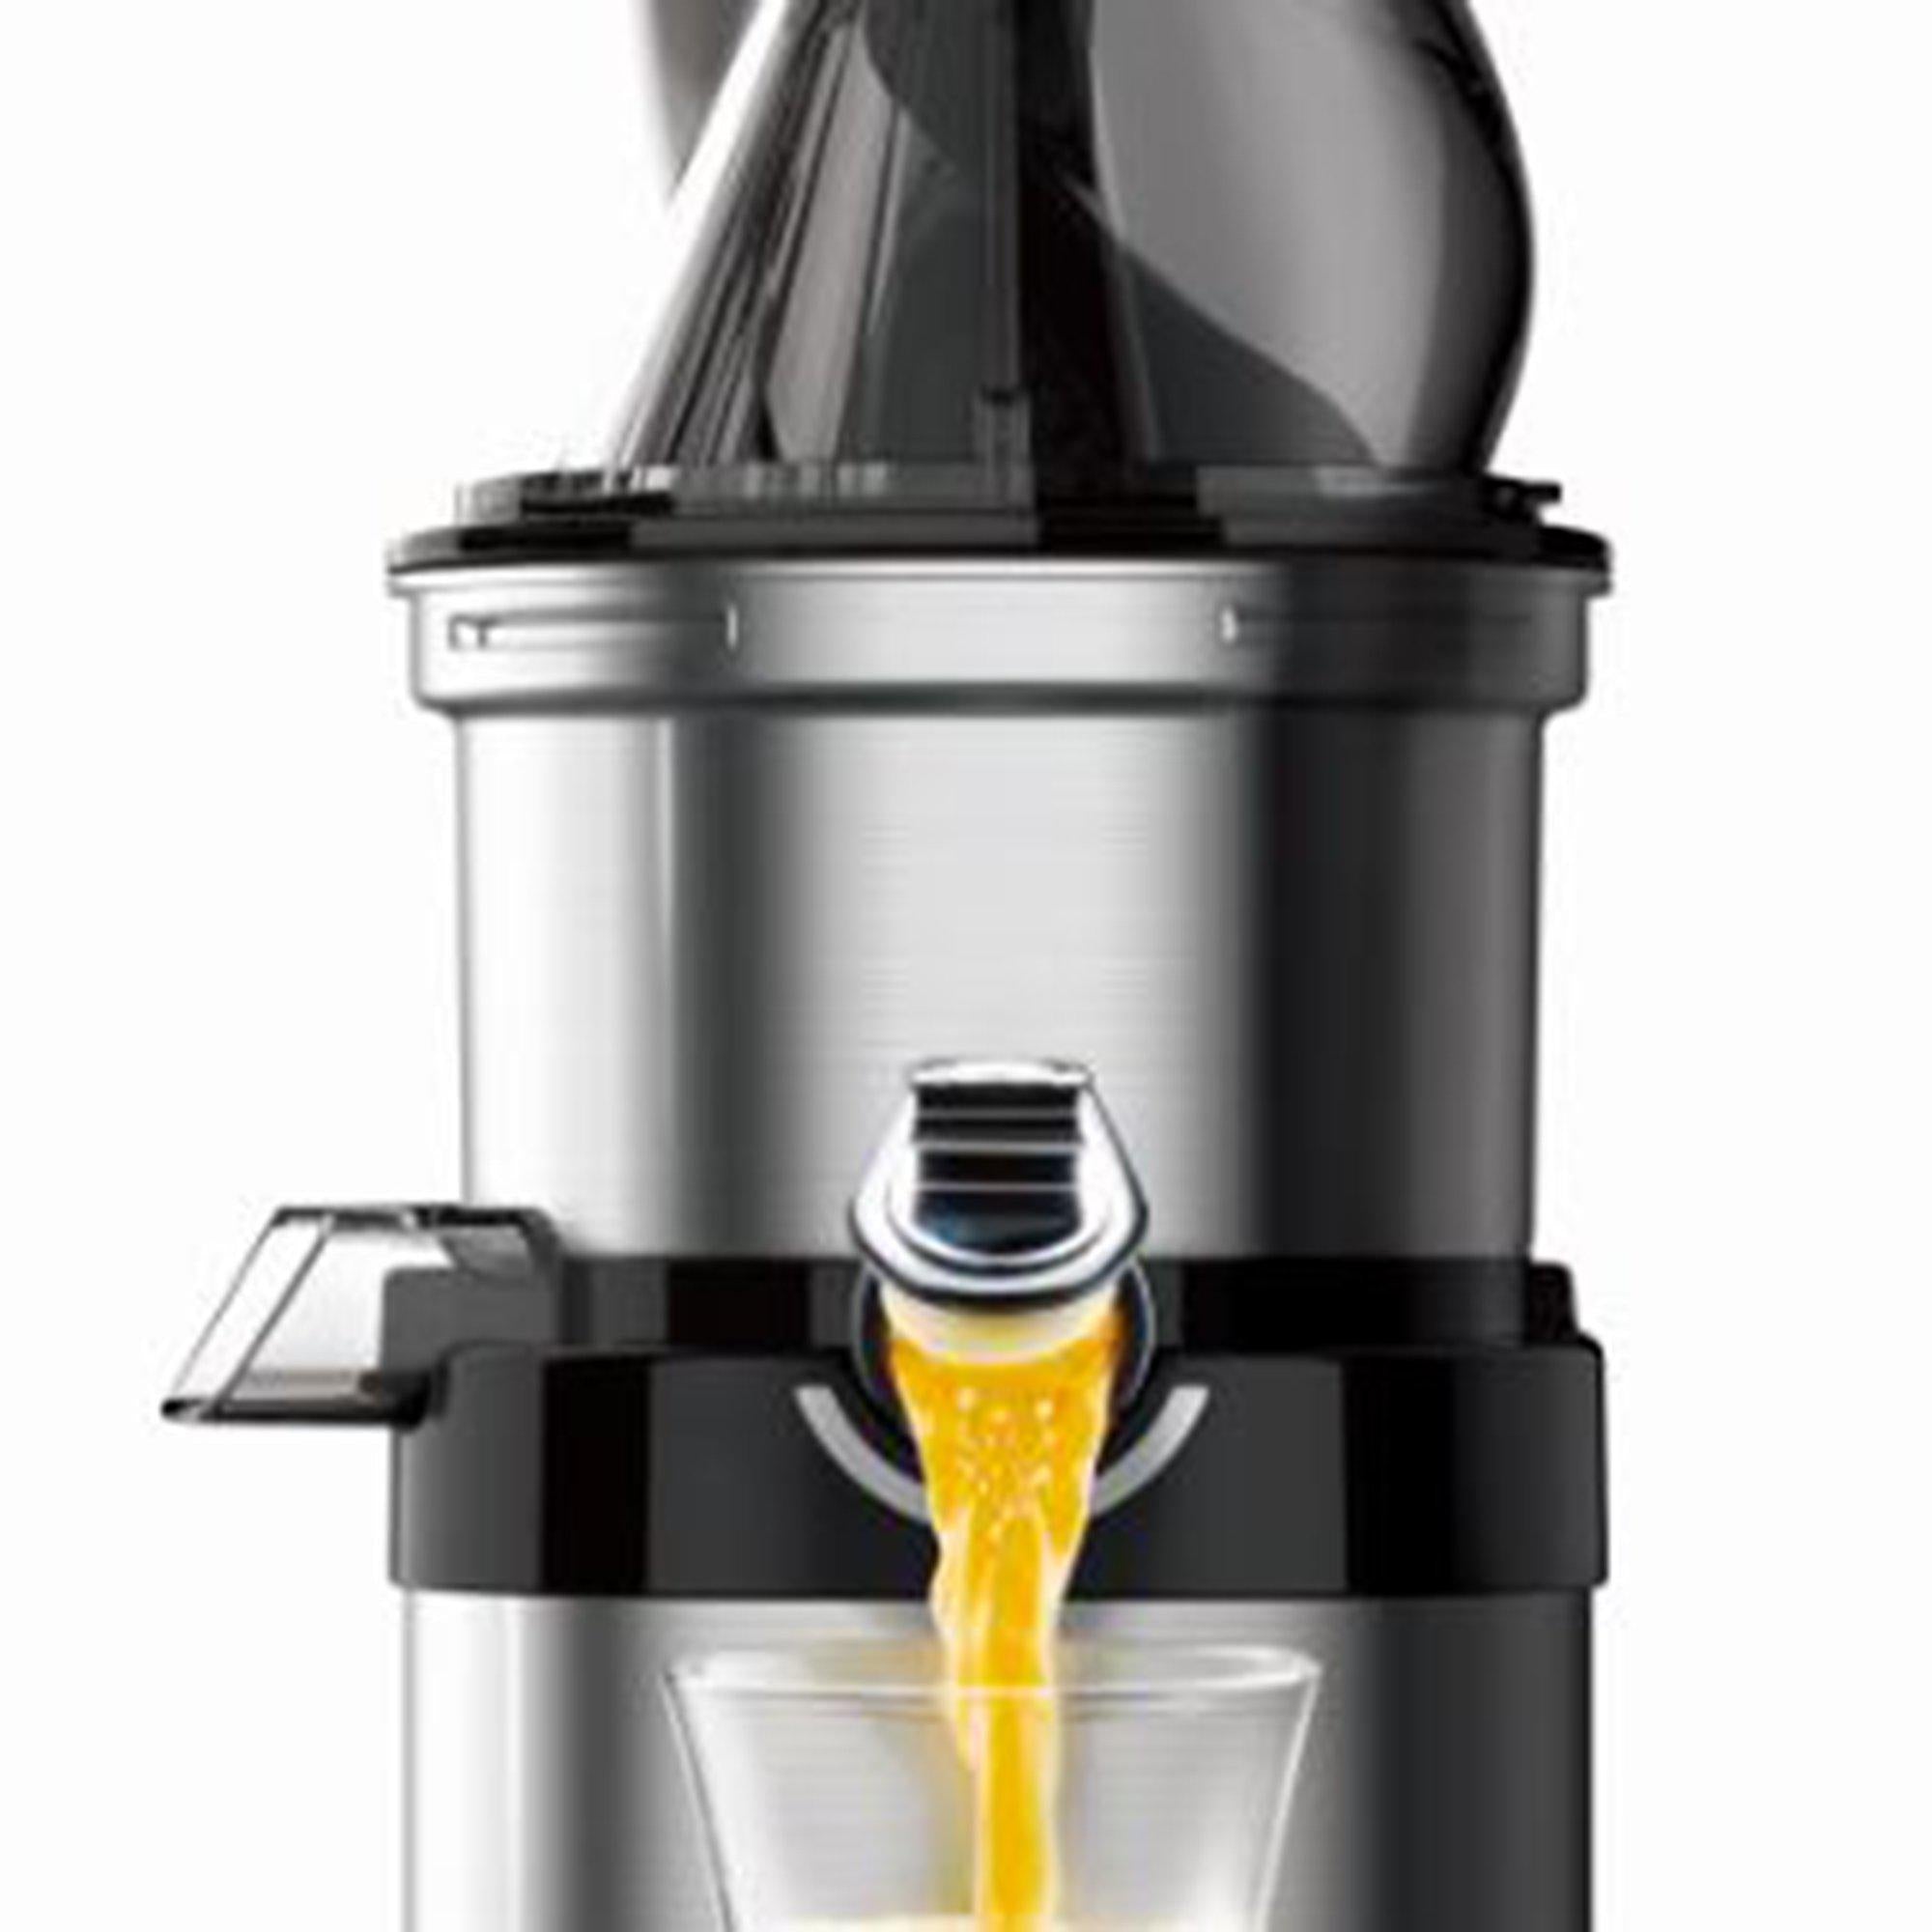
3. Smart Cap
The main purpose of the juice cap is to close it after you’re done juicing to prevent drips. However, you can choose to leave it open or closed while juicing!
When you juice with the cap closed, the rotation wiper helps mix the various juices in the juicing bowl for you. Some also feel satisfaction in opening the juice cap once the juicing bowl is full and having the juice rush out at once.
If you choose to juice with the cap closed, be sure to open it before the juice rises past the juicing bowl into the hopper. Juice that overflows into the hopper may mix with unjuiced produce and clog the juicer.
If you choose to juice with the cap open, have a cup ready under the spout to avoid spills and watch for overflows.
4. Storing
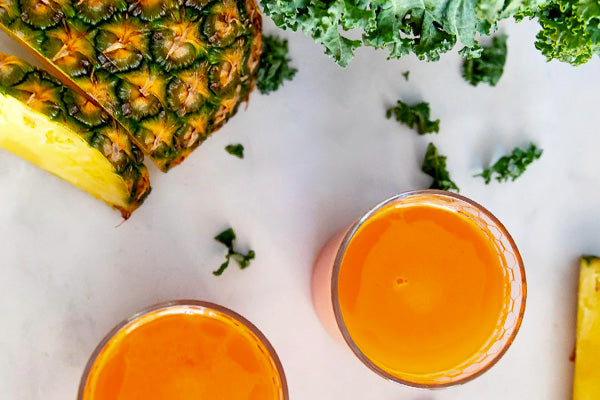
Juice is best consumed right away. However, if you’re batch juicing, you can refrigerate your cold-pressed juice for up to 72 hours.
The best way to store your juices is in glass jars or bottles. Try to fill them to the top to slow oxidation. The more air in the bottle, the faster the juice oxidizes.
Check out this video by @brandonahmaud where he makes 3 juice recipes using the juicing strainer with his AUTO10!
How to Use the Juicing Strainer for Milk
1. Ingredients & Prep
You can make milk with nuts, oats, seeds, and beans. You also have the option to add sweeteners and flavorings, such as pitted dates, vanilla, cocoa powder, and more.
The main ingredients for milk are dry and sometimes firm. Soaking helps hydrate and soften them, making them easier to “milk”. Therefore, you need to soak nuts, oats, seeds, and beans in water and store them in the refrigerator. The soaking time depends on the ingredients, but generally, 8 hours or overnight is enough time.
Even though soaking helps with hydration, you still need water to mix with the crushed ingredients to create the milk. You can choose to use the water used for soaking or a new batch. Just make sure to use filtered water since it’s for drinking.
The ratio of nuts to water is typically 1:1 (equal parts nuts and water). However, you can decrease the amount of water for a creamier milk or increase it for a lighter milk.
2. Smart Cap
Keep the smart cap closed while making milk. This allows the juicer to mix the solid ingredients with water and make the milk in the juicing bowl. However, be sure to open the cap if the juicing bowl is almost full. You can close it again after letting some milk out.
3. Insertion
With hands-free juicers, load a handful of soaked ingredients first. As the juicer is operating, gradually pour some water through the hole in the lid. Alternate between a handful of soaked ingredients and water until finished.
With manual-feed juicers, alternate between adding a handful of soaked ingredients and water.
The alternating method helps reduce potential damage to the parts.
4. Storing
Homemade milk has a shorter shelf life than store-bought milk since it doesn’t have preservatives. It can last approximately a week, but you should judge based on its smell and appearance.
You can also store milk in glass bottles in the refrigerator. Oxidation is less of a concern with milk. However, more air exposure may shorten the shelf life.
Watch this video of @theallnaturalvegan making hazelnut milk with her AUTO10 Plus!
Do you need to strain your juice or milk?
You don't need to strain your juices and milks. Kuvings juicers do a good job of separating the liquid from the pulp, so little to no pulp ends up in the final product!
But if you prefer a super-fine texture, you can strain your juice and milk. Some Kuvings juicers come with a pulp strainer. You can place it over the juice cup to strain as you make juice or milk for convenience.
You can find recipes for juice and milk in our recipes blog! We also have a milk guide with more information on the different types of plant milk you can make with Kuvings juicers.