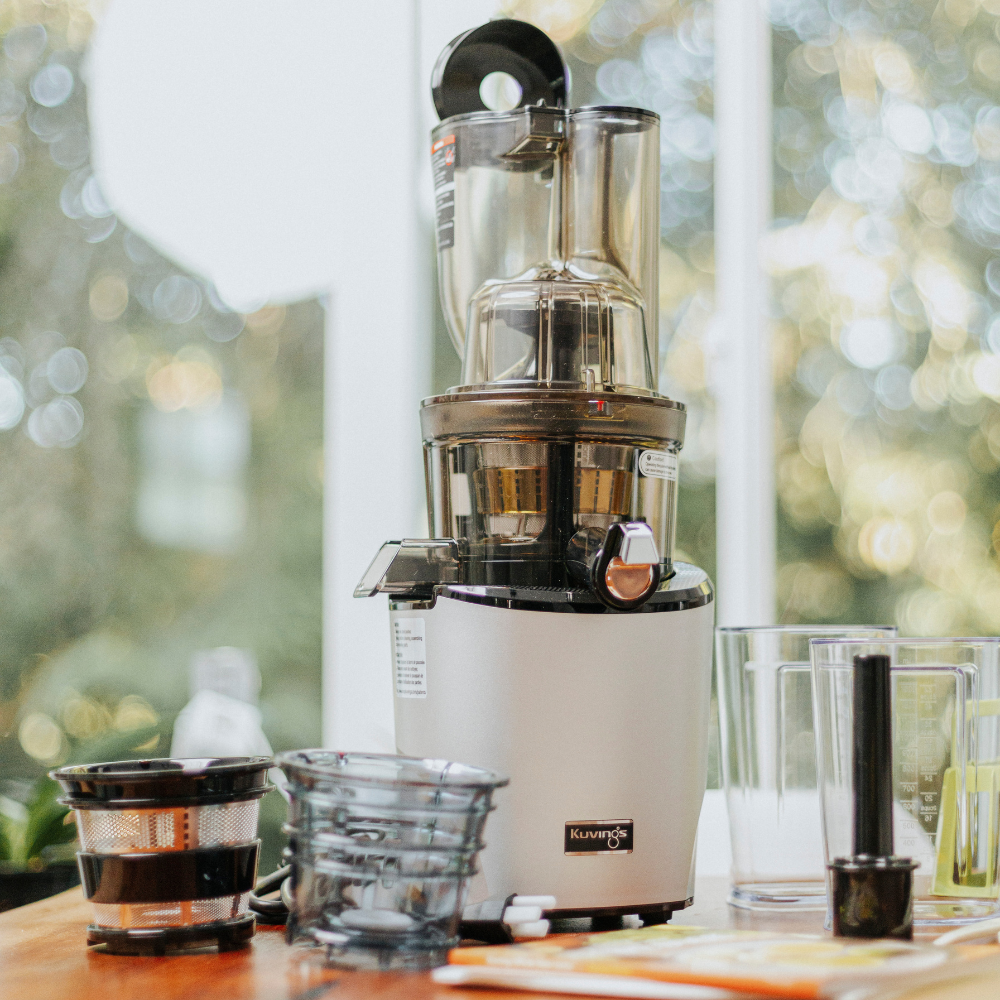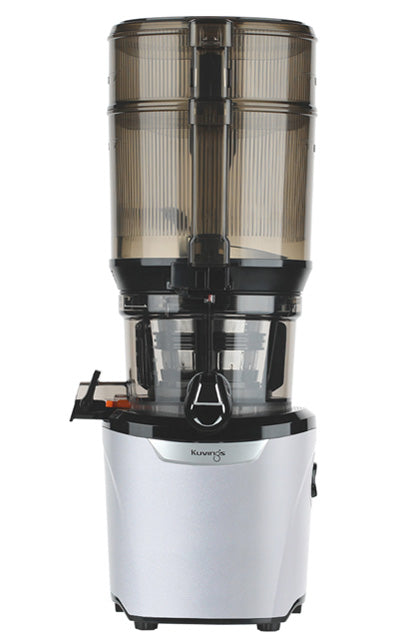
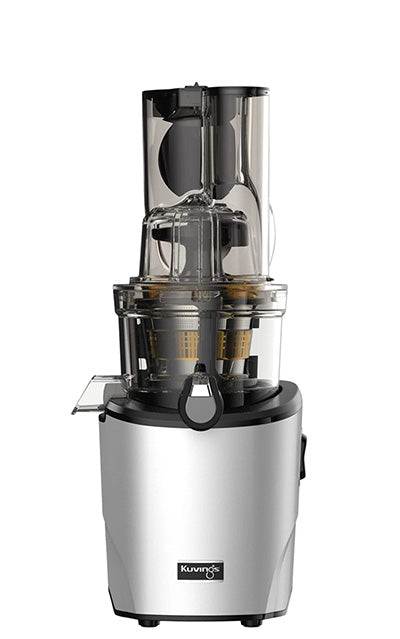
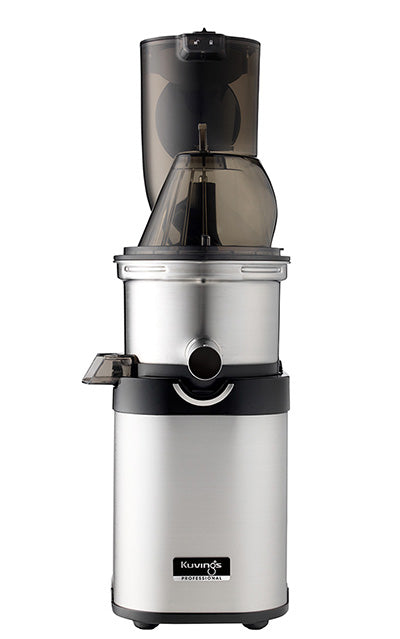


How to Assemble
The juicer will only operate when it is properly assembled.
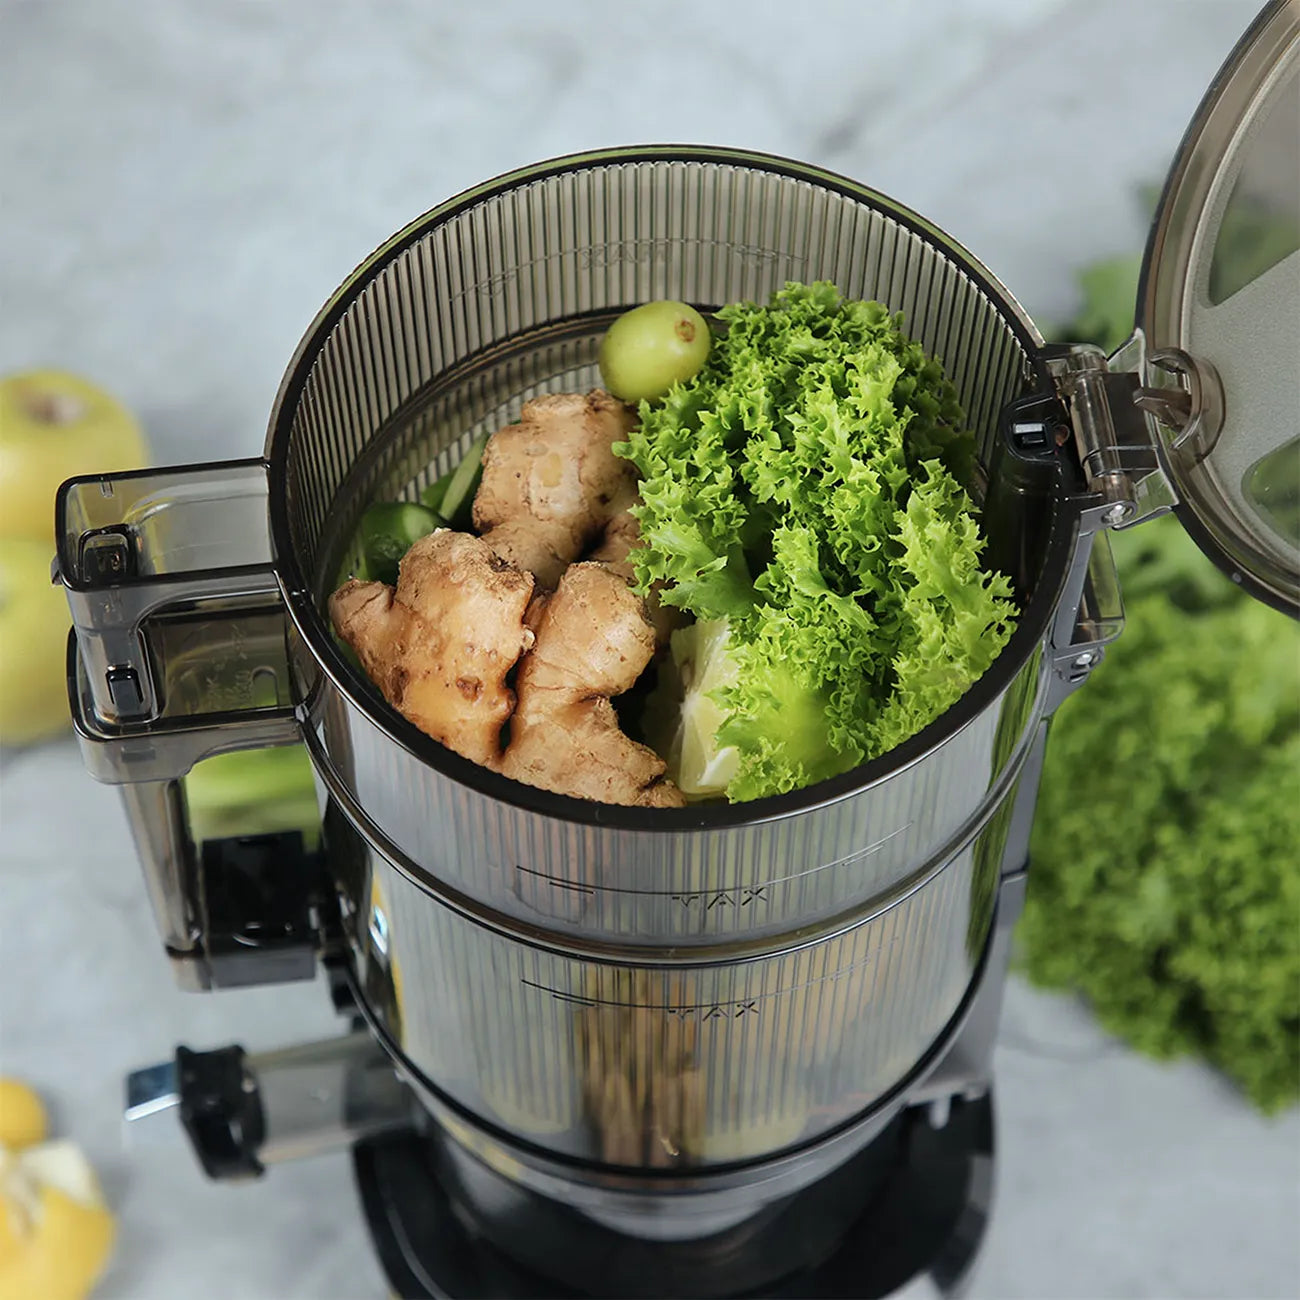
1. Insert the juicing strainer into the rotation wiper.
The rotation wiper is used only with the juicing strainer and smoothie strainer. The rotation wiper rotates smoothly when the strainer is properly inserted. 
2. Ensure the silicone pieces in the juicing bowl’s pulp outlet are properly seated. Once checked, lock the pulp outlet.

3. Place the juicing strainer into the juicing bowl by aligning the red dots on each part.
When it’s properly inserted in the bowl, the juicing strainer and rotation wiper won’t move. 
4. Insert the juicing screw into the center of the strainer. Push it down to seat it.
The auto hopper will not sit on the juicing bowl if the juicing screw isn't fully pushed down. The screw should be flush with the top of the strainer.

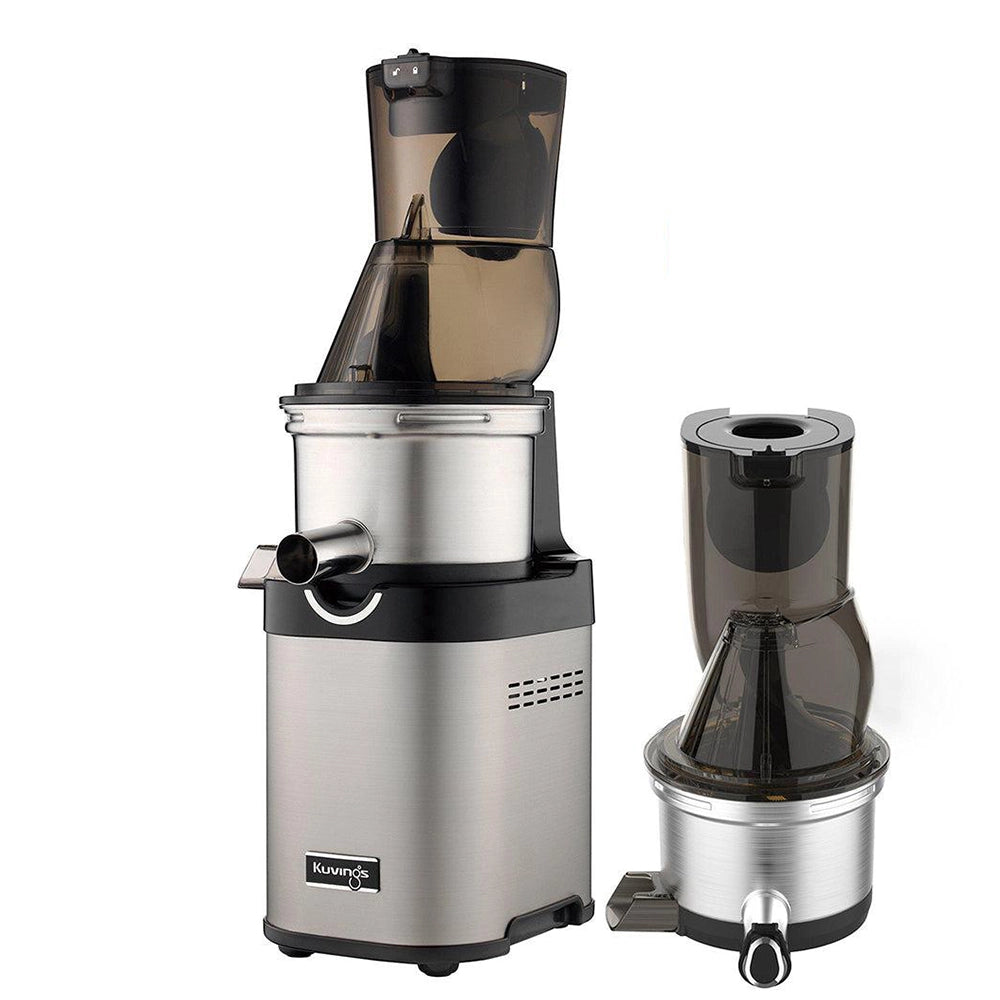
5. Place the auto hopper on the juicing bowl with the arrow symbol on the auto hopper aligned with the unlock symbol on the juicing bowl.

6. Turn the auto hopper clockwise until the arrow symbol aligns with the lock symbol.

7. Place the assembled top set on the motor base.
The juice spout should be on the same side as the Kuvings logo.

8. Plug the power cord into an outlet. Press the forward button to check that your juicer turns on.

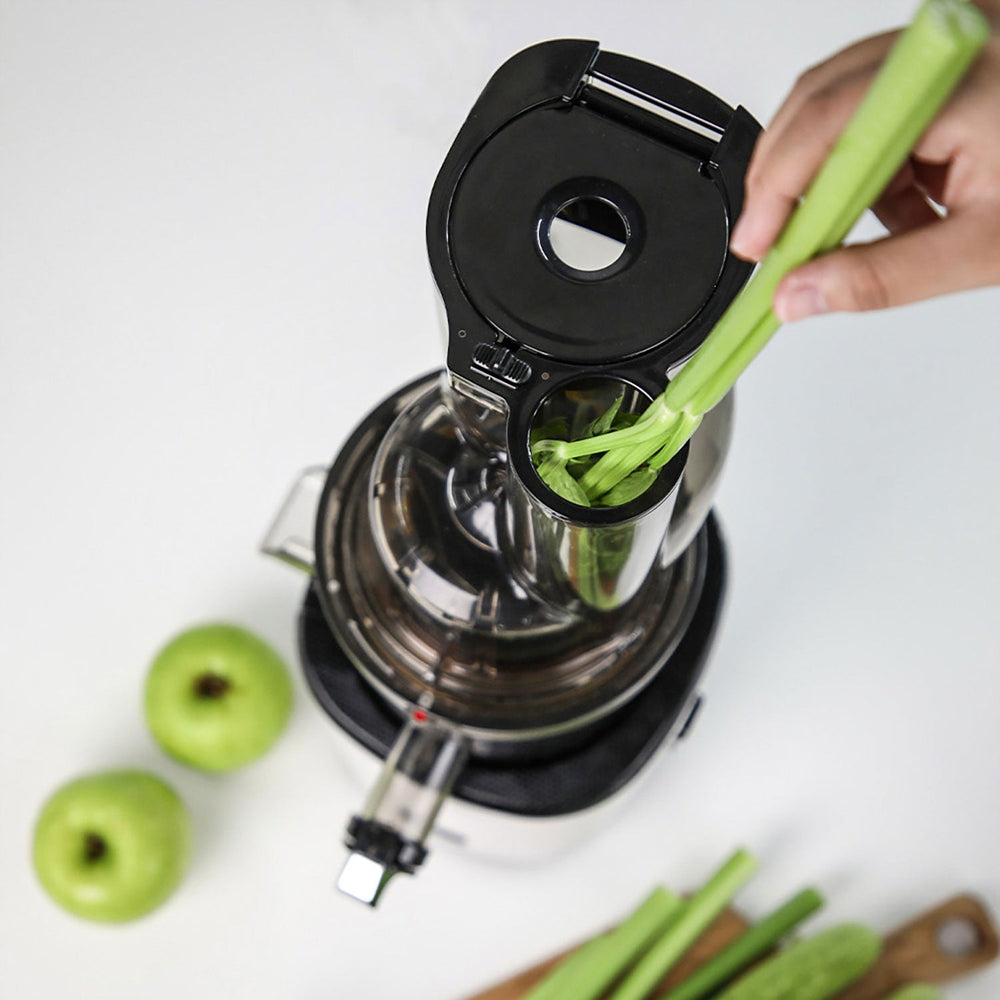
9. To open the auto hopper lid, use your thumb to push up the locking tab on the handle.
Opening the lid during operation will cause the juicer to stop.

How to Disassemble
Turn off the juicer and unplug the power cord from the outlet before disassembling it.

1. Hold down on the handle’s lock switch.
2. Turn the auto hopper counterclockwise so that the arrow symbol aligns with the unlock symbol.
3. Lift the auto hopper off the juicing bowl.
4. Lift the juicing bowl set off the motor base.
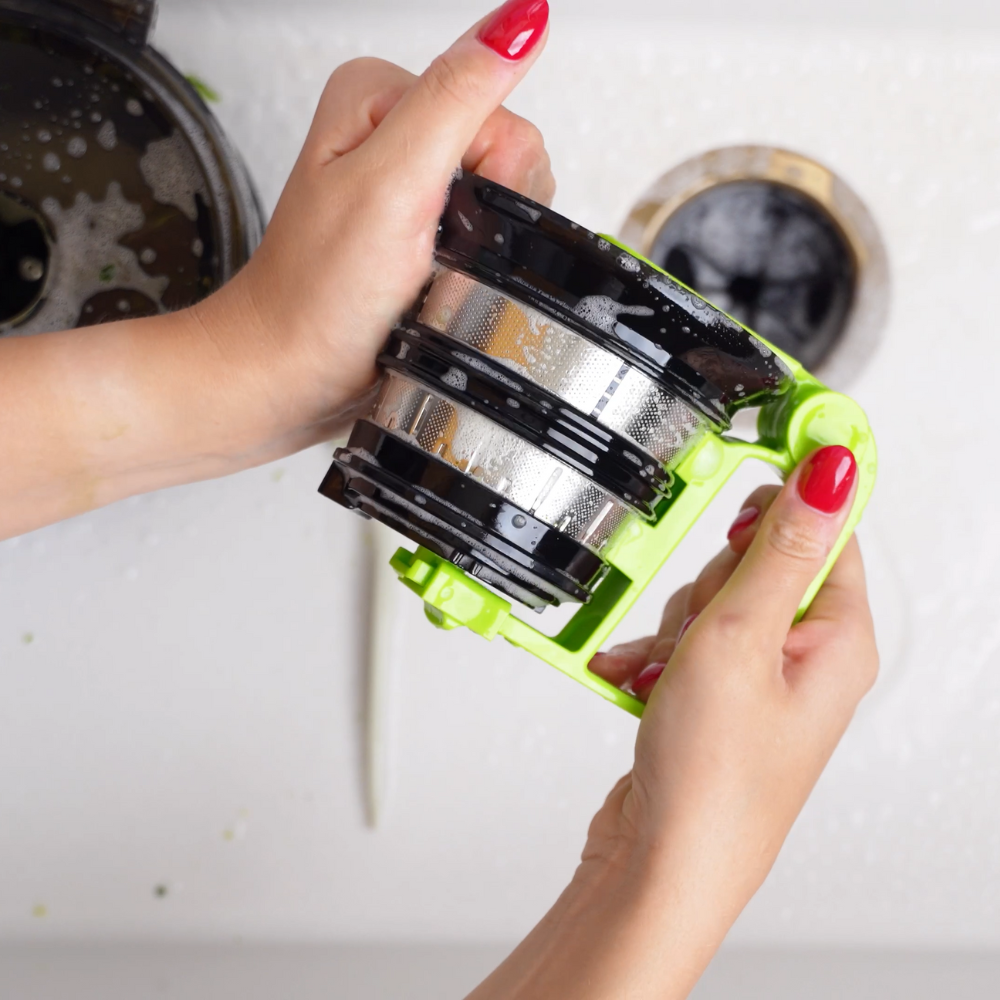
5. Remove the rotation wiper, juicing strainer, and juicing screw unit from the juicing bowl.
6. Pull up the juicing screw from the juicing strainer. You can also push the screw out from the bottom of the strainer.
7. Pull off the rotation wiper from the juicing strainer.
Still need help? Refer to the manual or contact customer support.