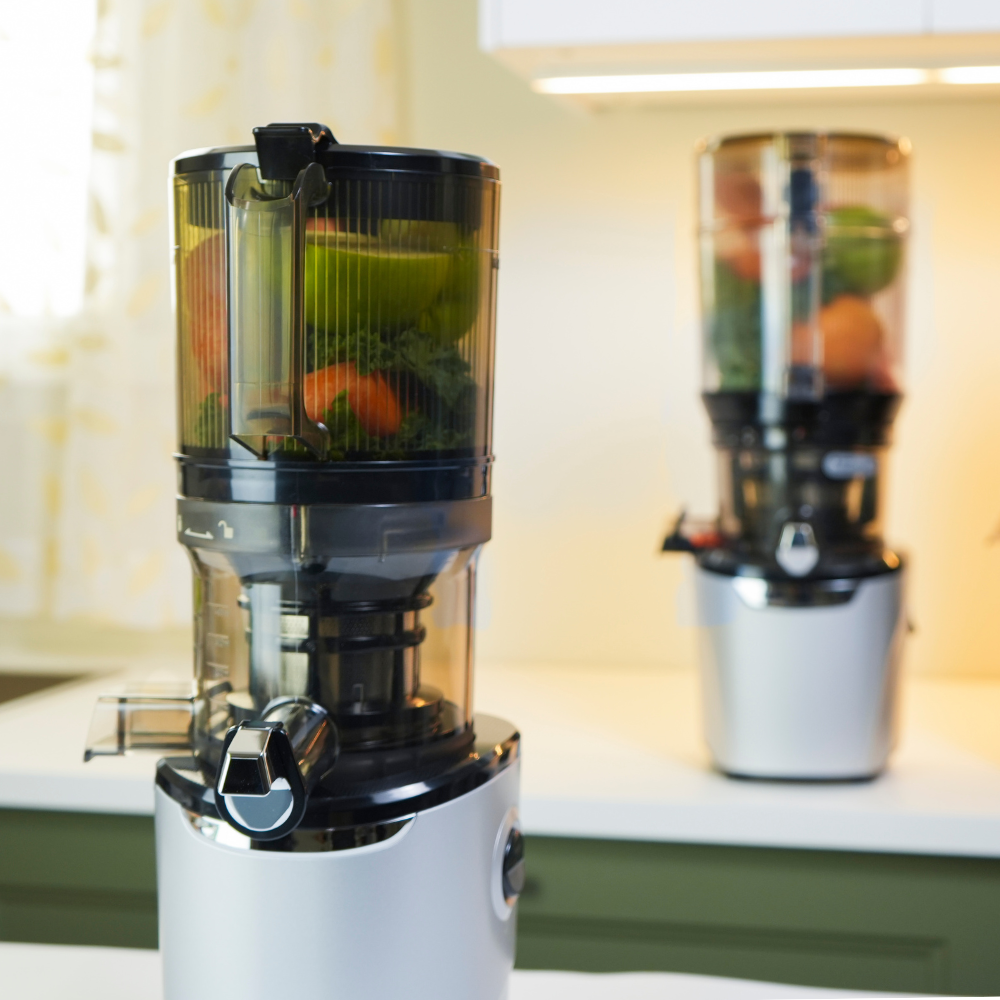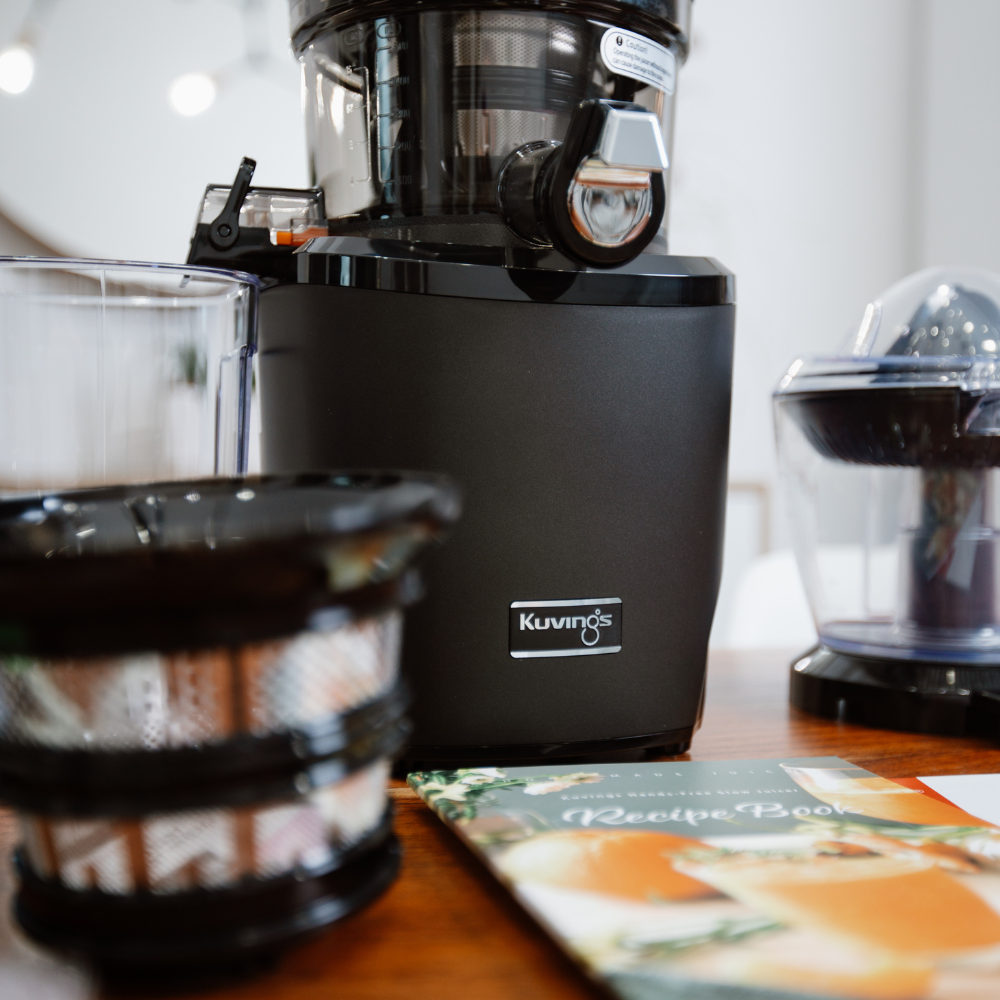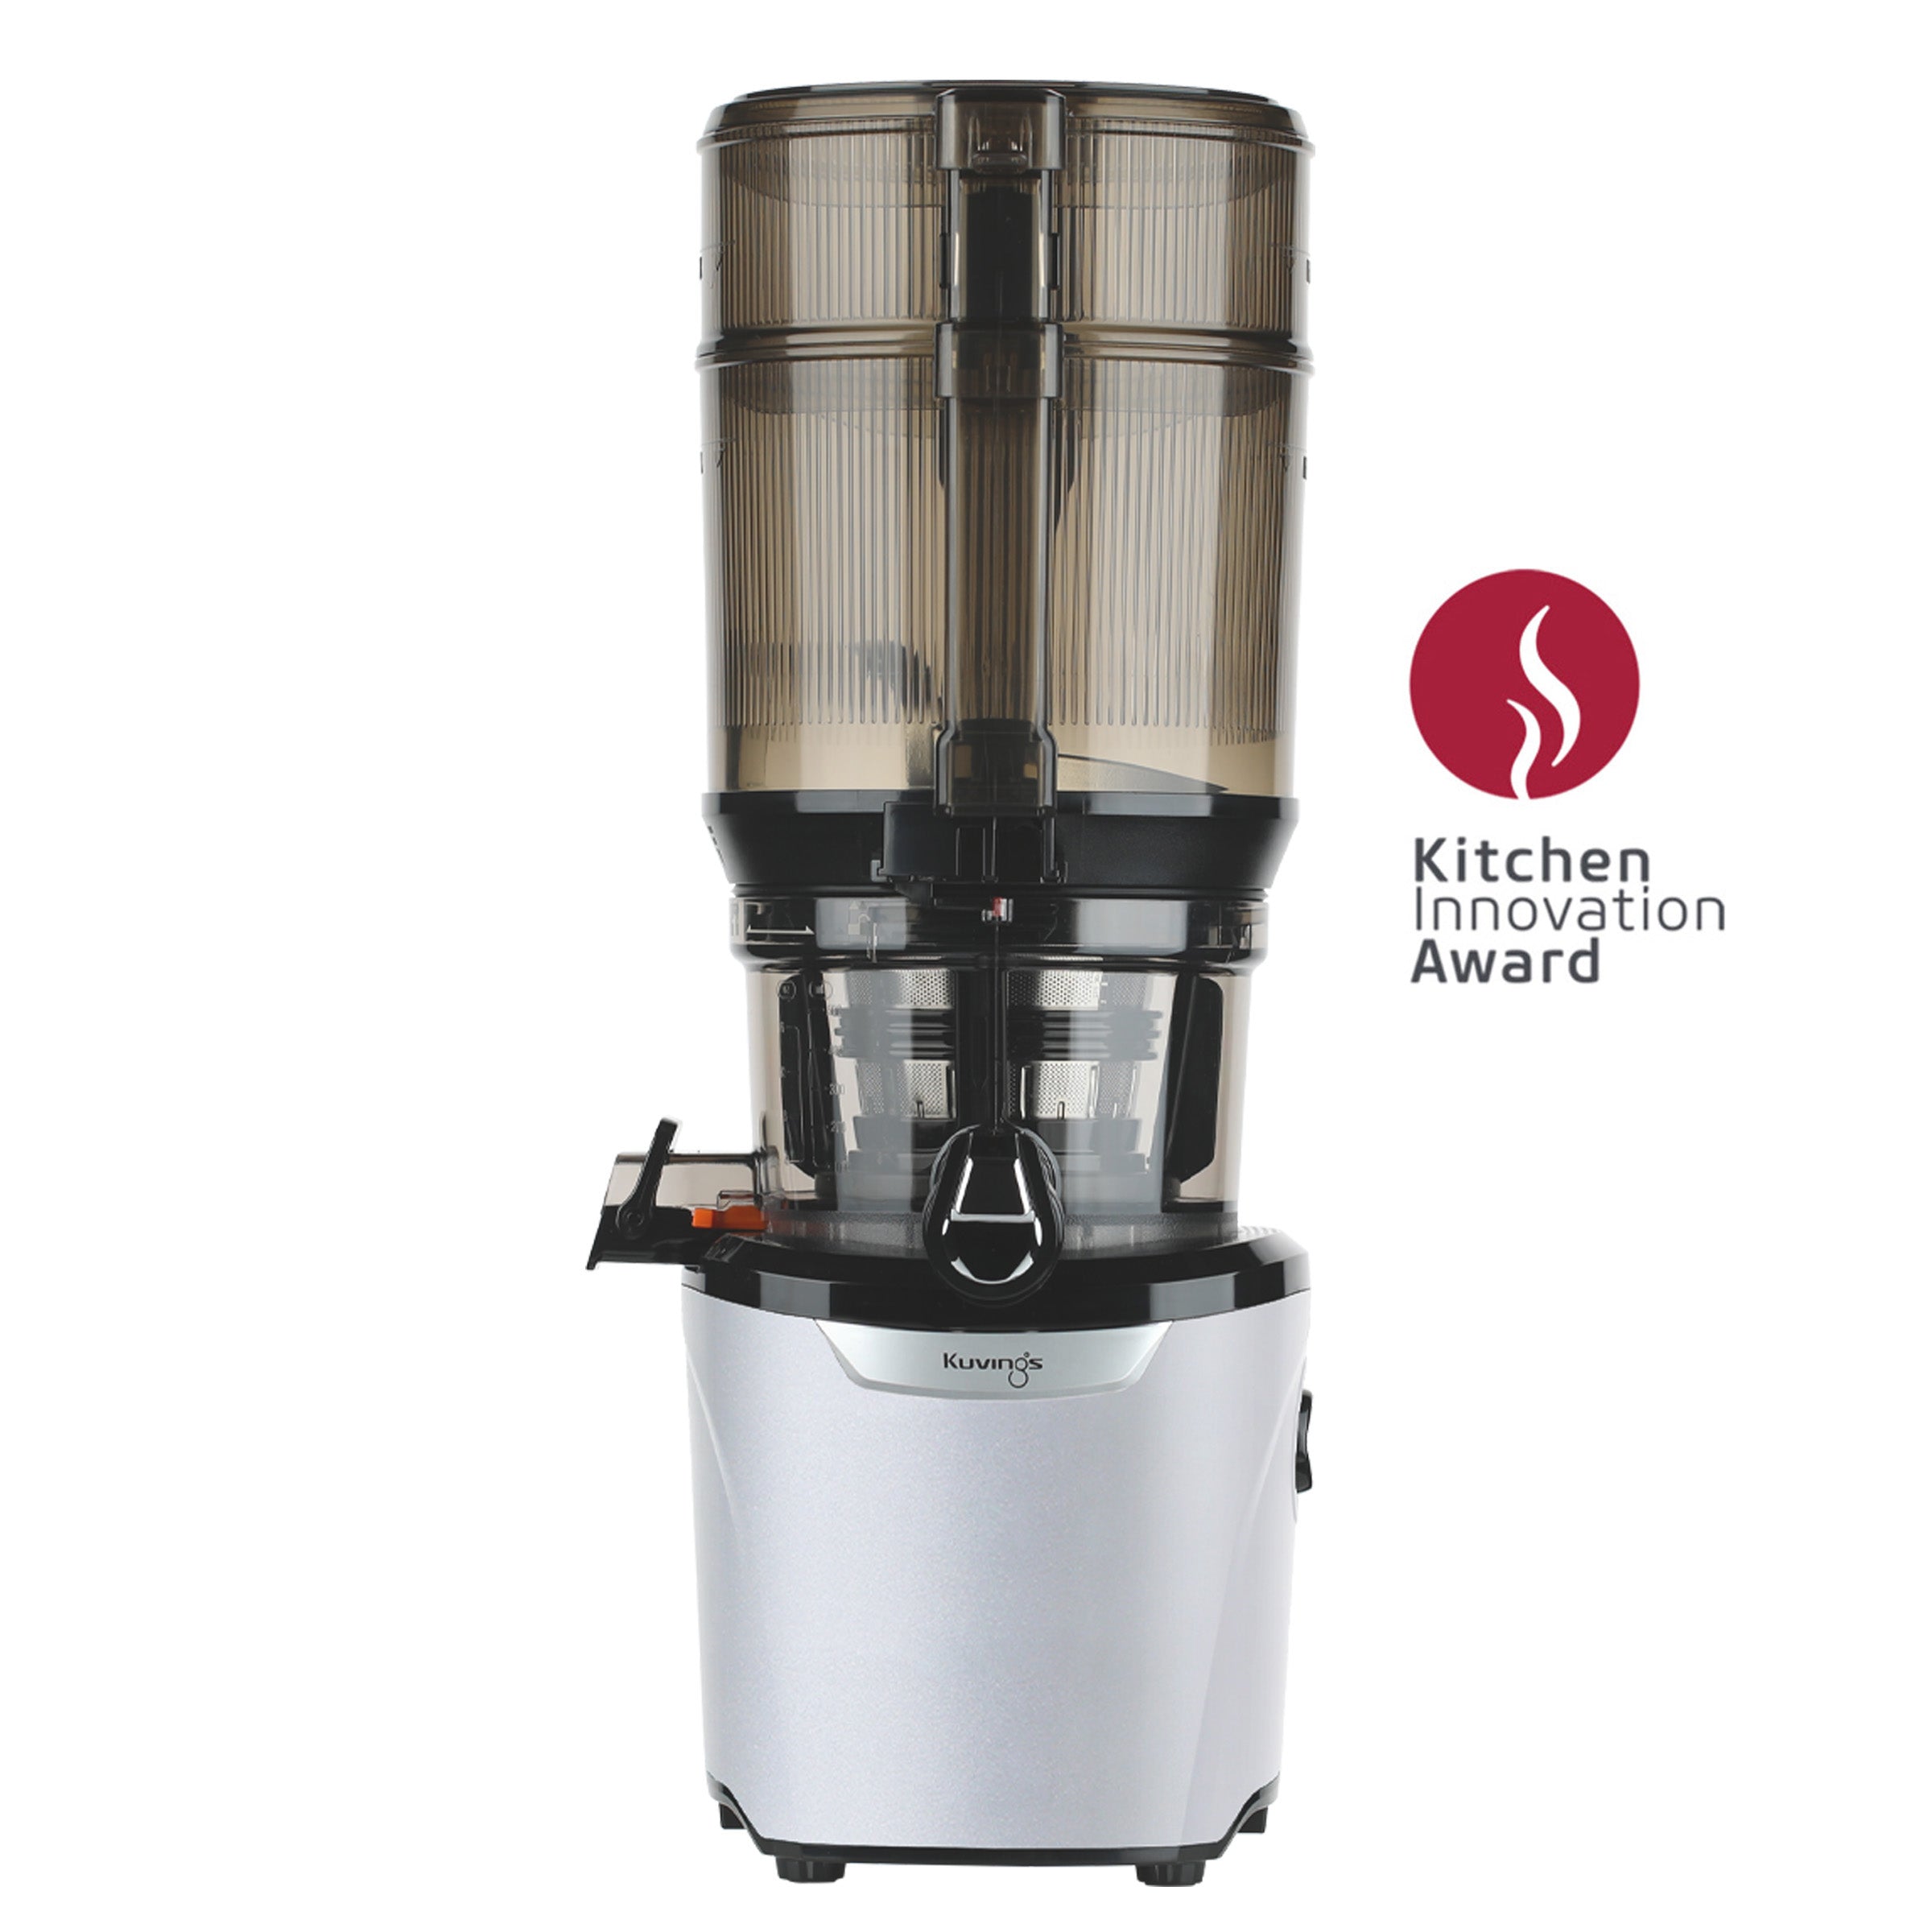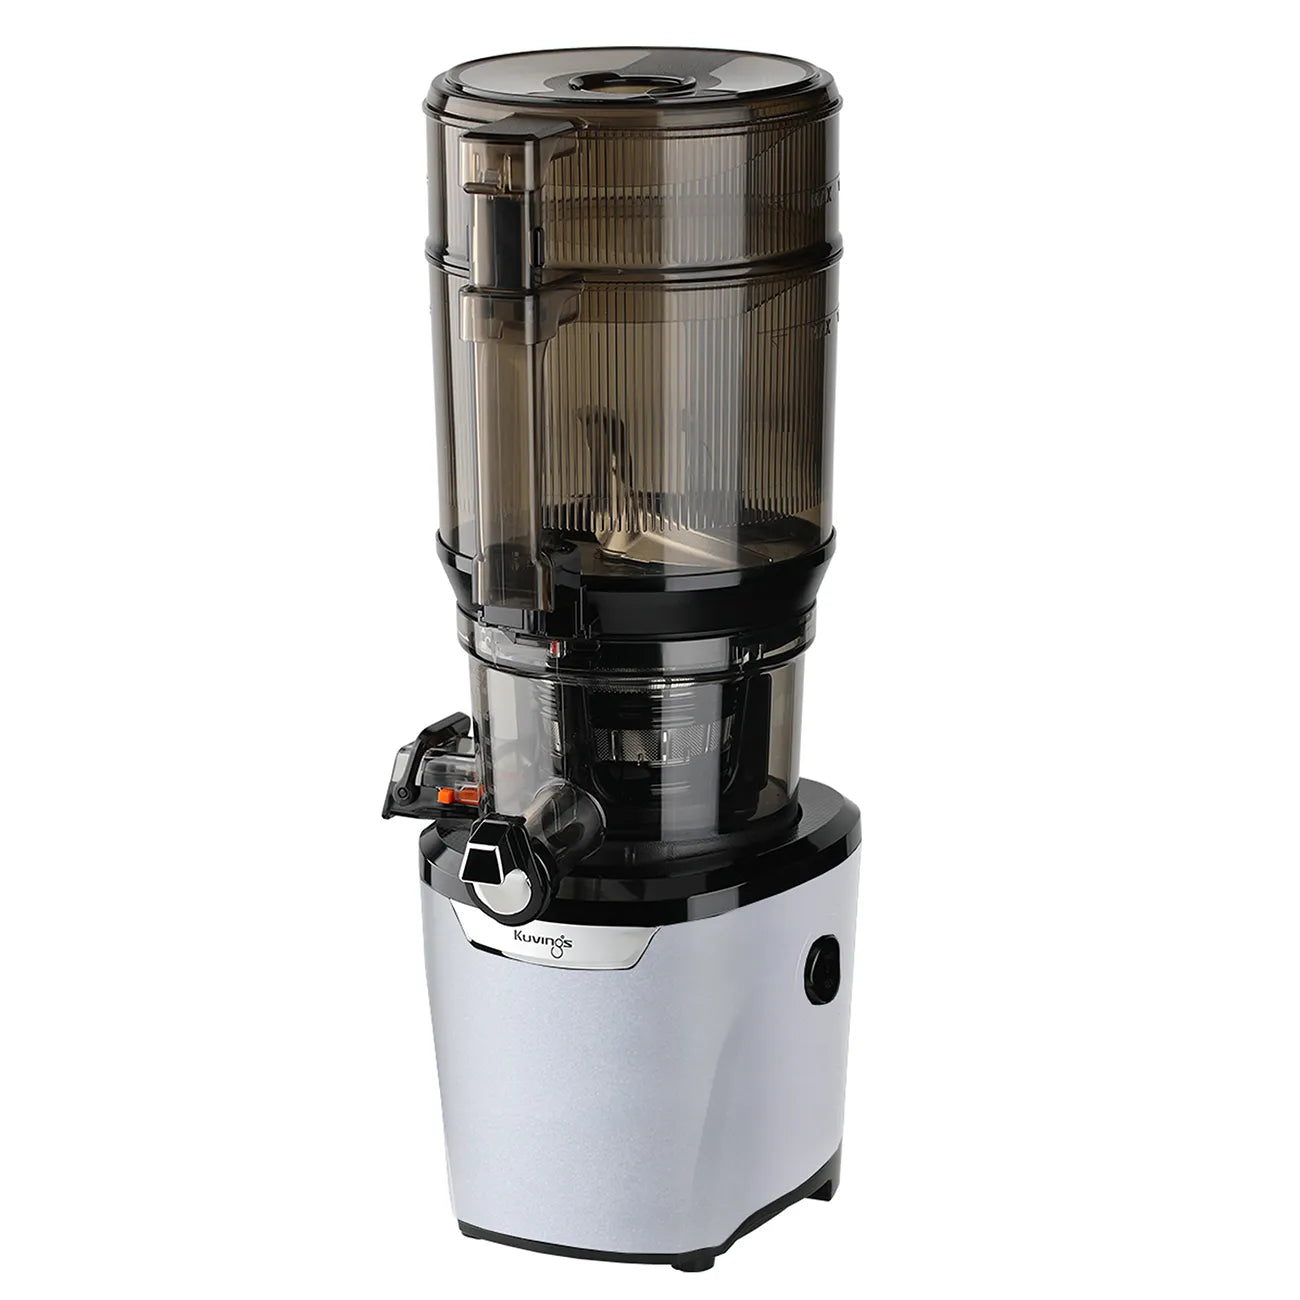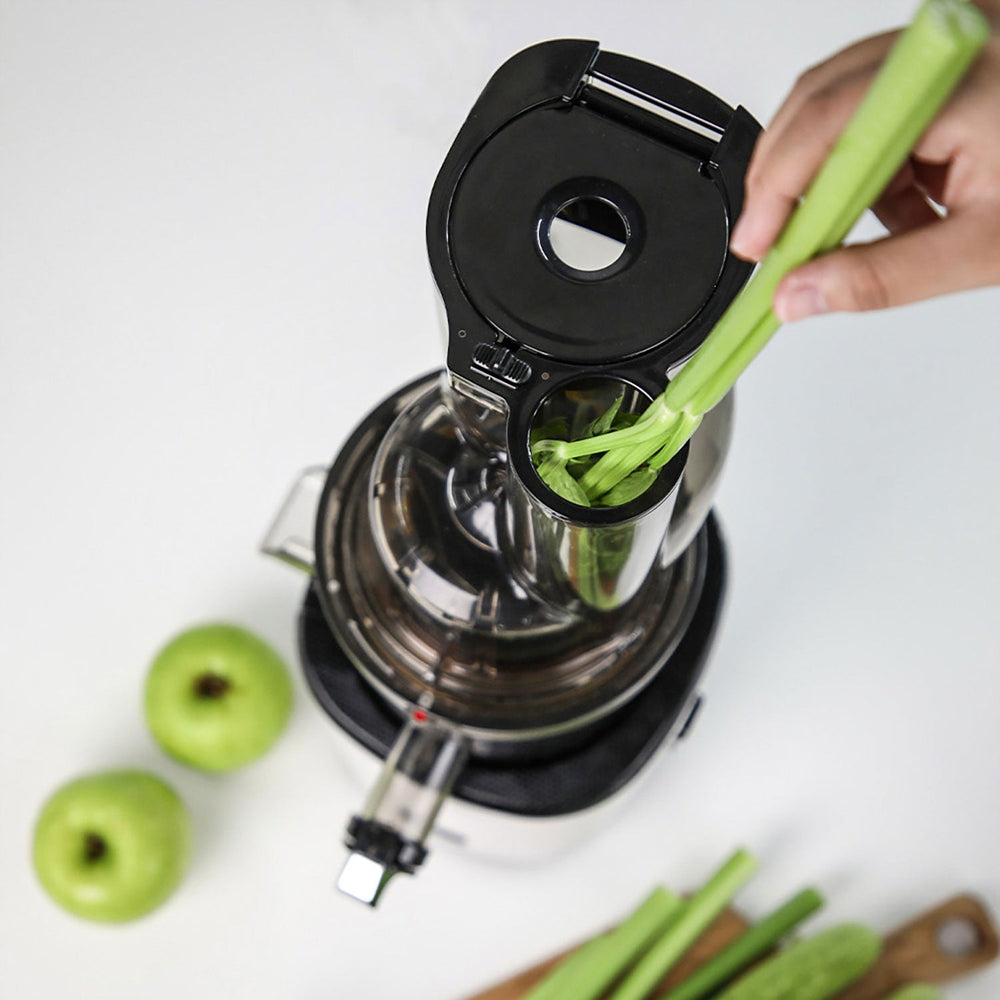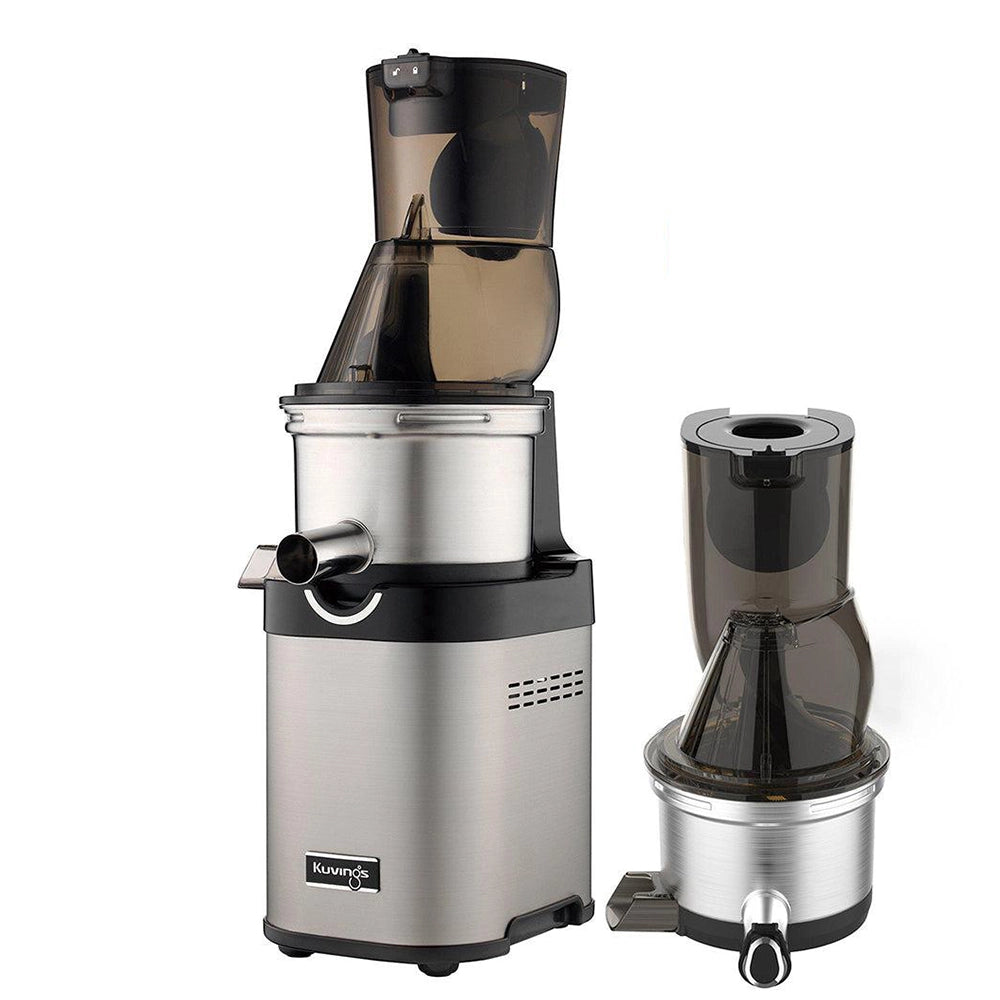
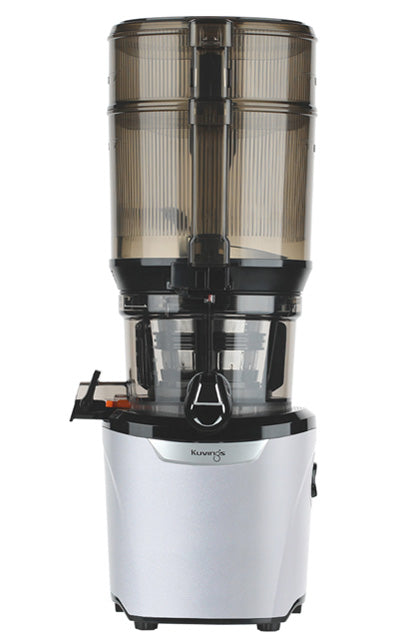
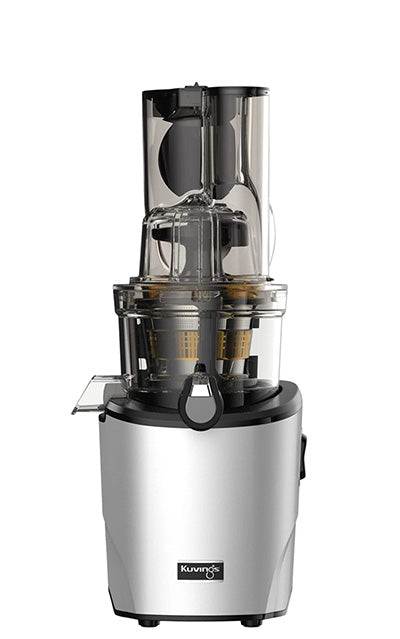
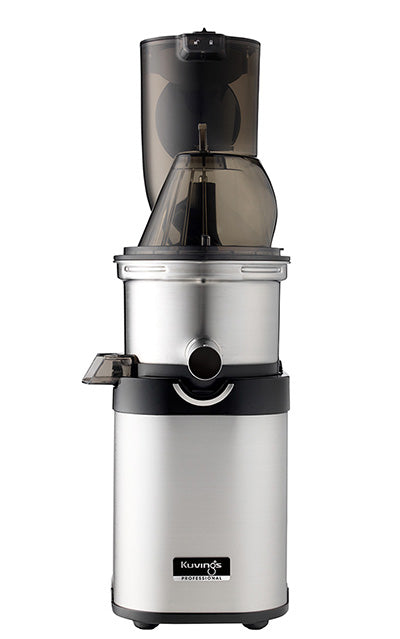


The juicer will only operate when assembled properly.
1. Place the juicing bowl on the motor base.
The juice spout should face the same side as the Kuvings logo, with the pulp spout to the left.
2. Place the strainer over the juicing screw.
The strainer can only fit over the juicing screw. The juicing screw does not fit into the strainer.
3. Place the juicing screw and strainer set into the juicing bowl. Align the red dot on the strainer to the red dot on the juicing bowl.
4. Push the strainer and juicing screw fully down into the juicing bowl.
The auto hopper will not sit on the juicing bowl if the juicing screw and strainer aren't fully seated.
5. Place the auto hopper on the juicing bowl with the arrow symbol on the auto hopper aligned with the unlock symbol on the juicing bowl.
6. Turn the auto hopper clockwise until the arrow symbol aligns with the lock symbol.
7. Hook the lid onto the hinge towards the back rim of the auto hopper. Close the lid.
The lid should close with a snap sound.
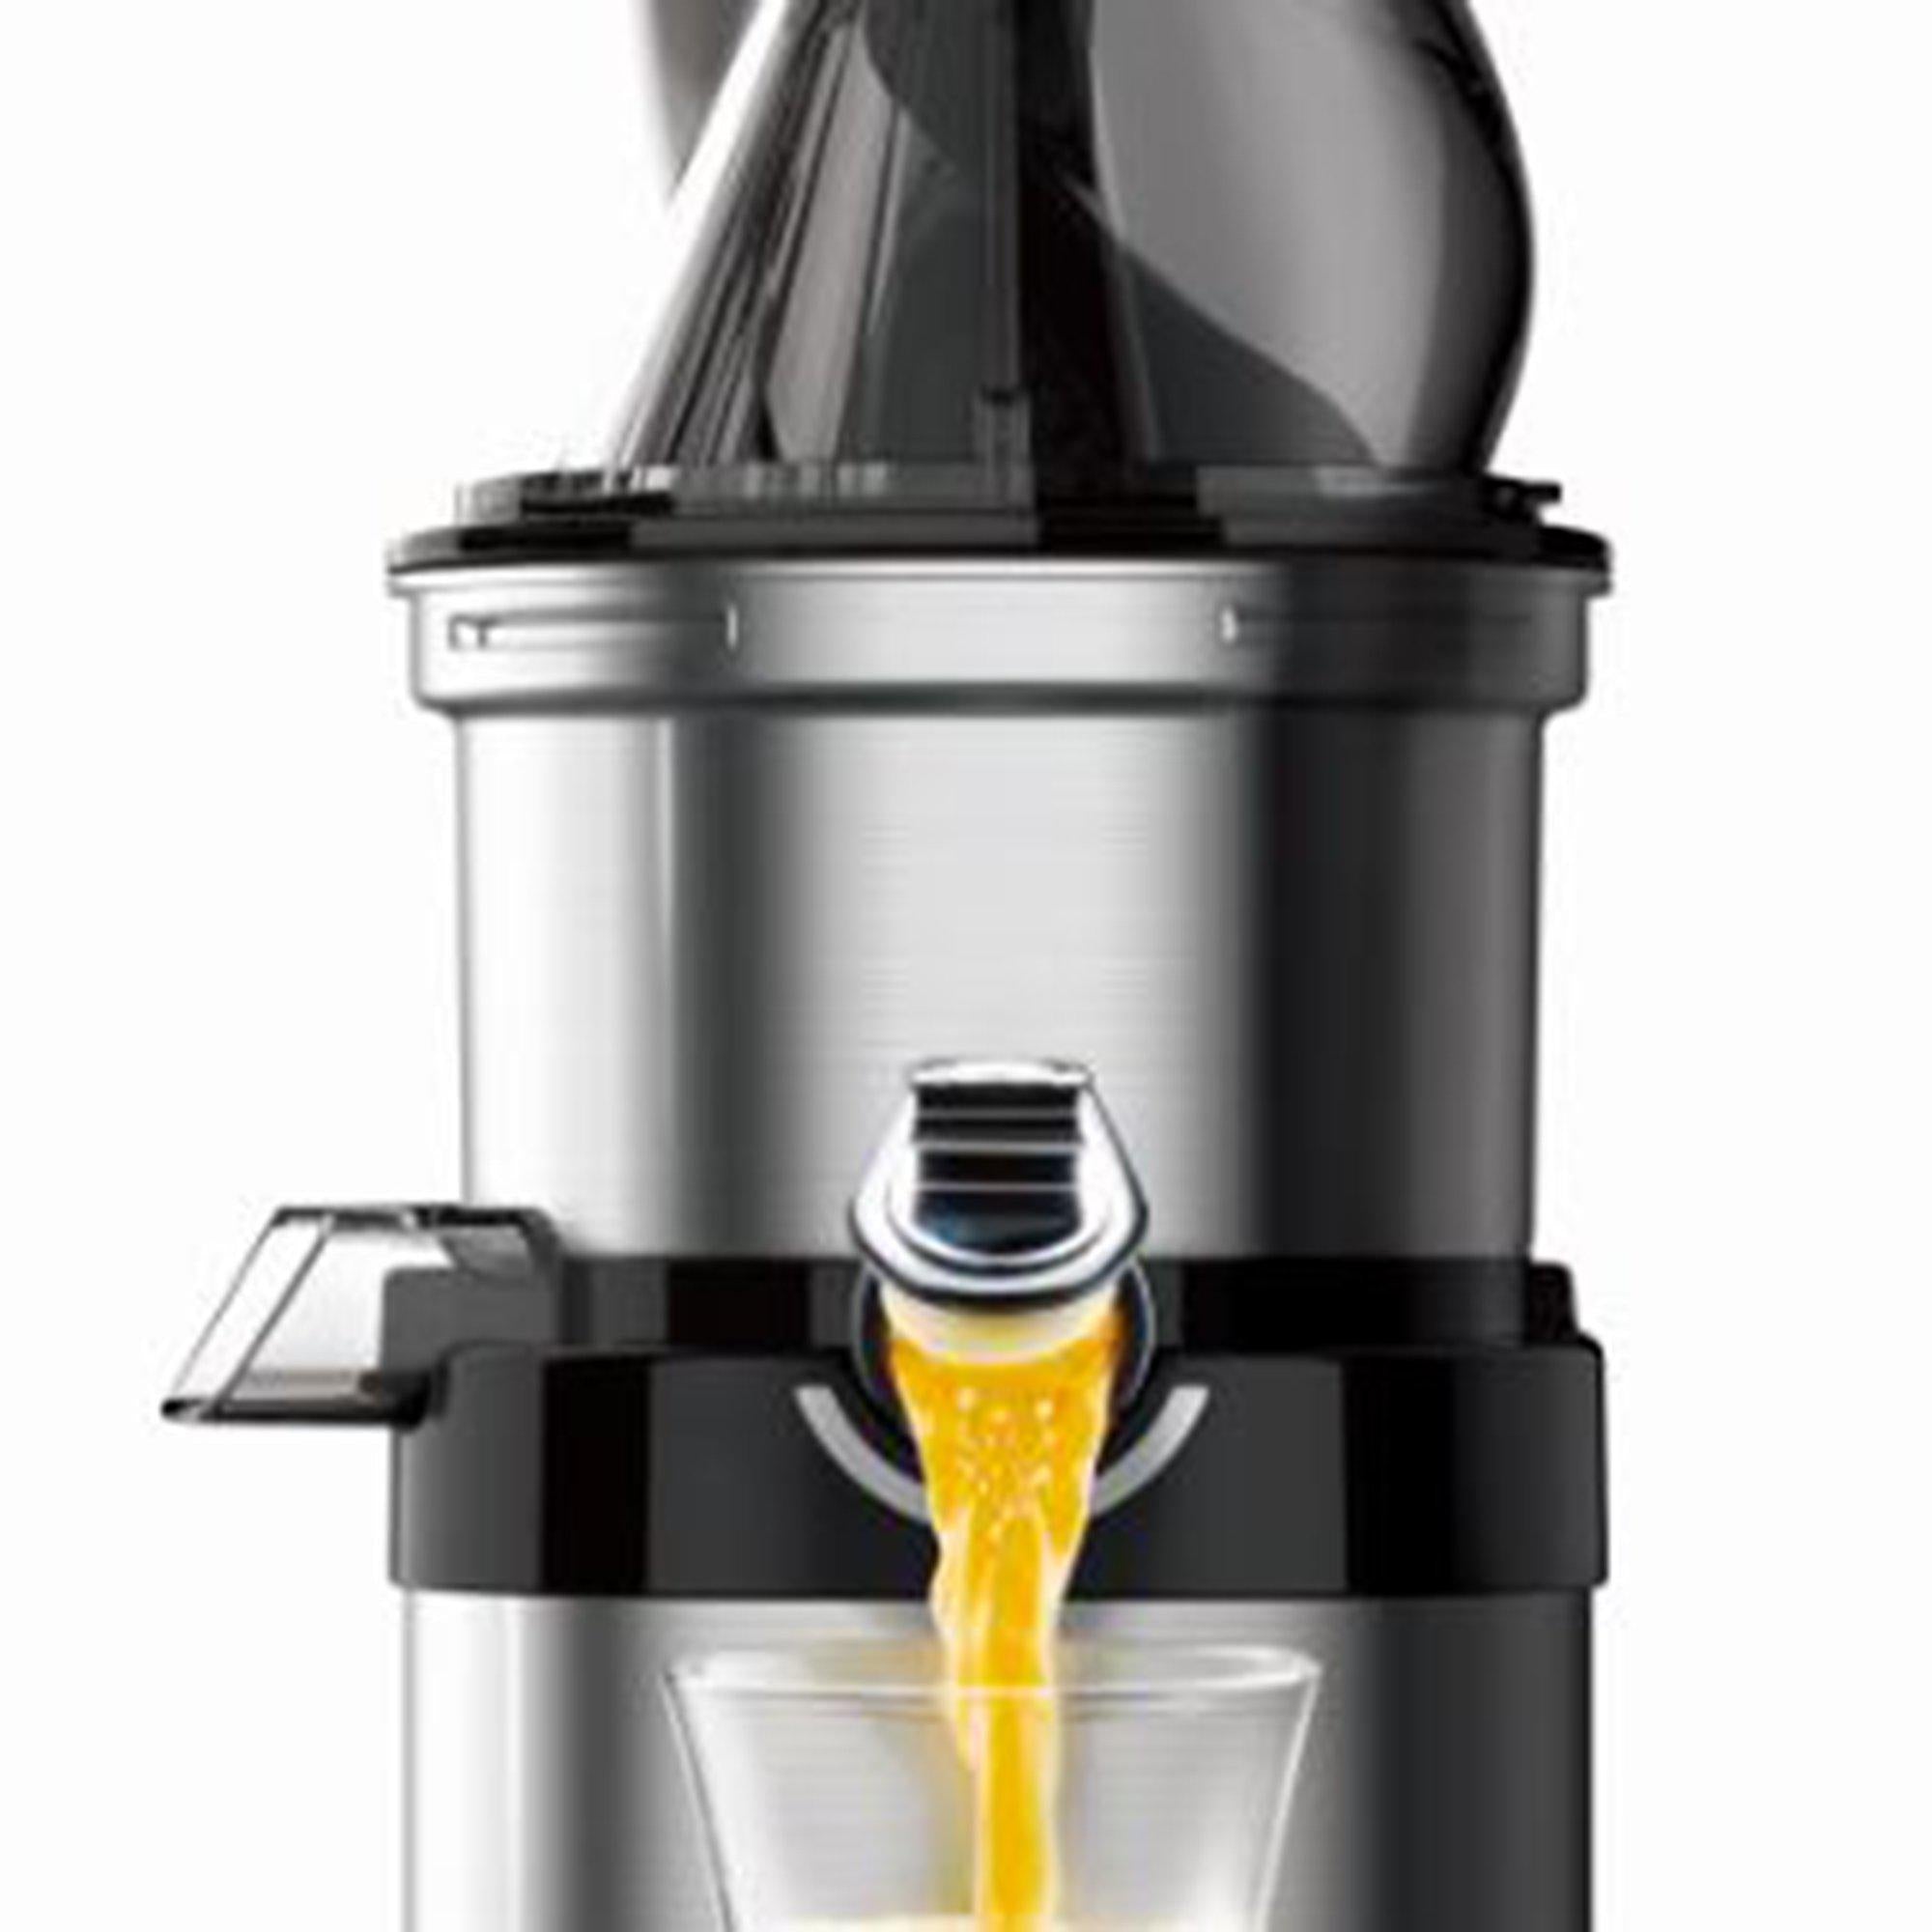
8. Place the juice and pulp cups under their respective spouts. The pusher is optional.
Still need help? Refer to the manual or contact customer support.