
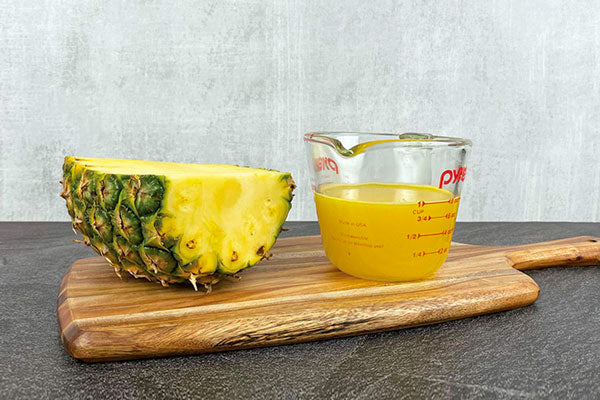
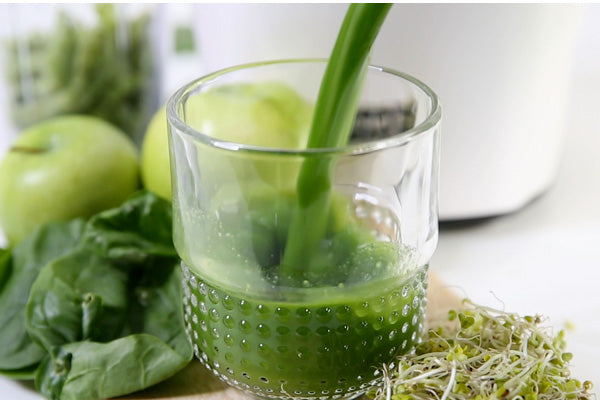


Keeping your juicer clean helps with a smoother juicing experience! Make sure to use the included brushes and get into the crevices; the entire process should only take 5-10 minutes.
Things to know:
-
Kuvings juicers need to be hand-washed because dishwashers may damage the parts.
-
Wash the parts with soap immediately after juicing to prevent build-up from solidifying.
-
It's important to keep the tiny holes in the juicing strainer clear of pulp.
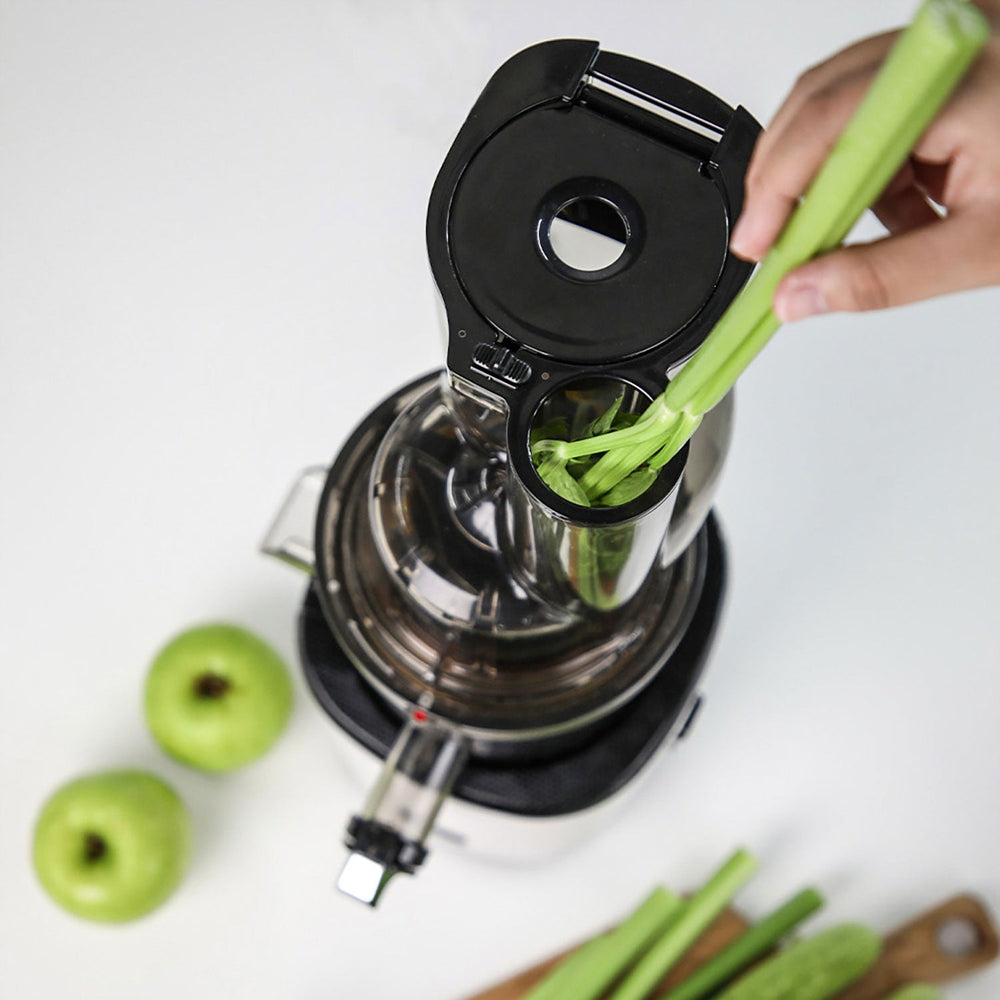
1. Disassemble the juicer
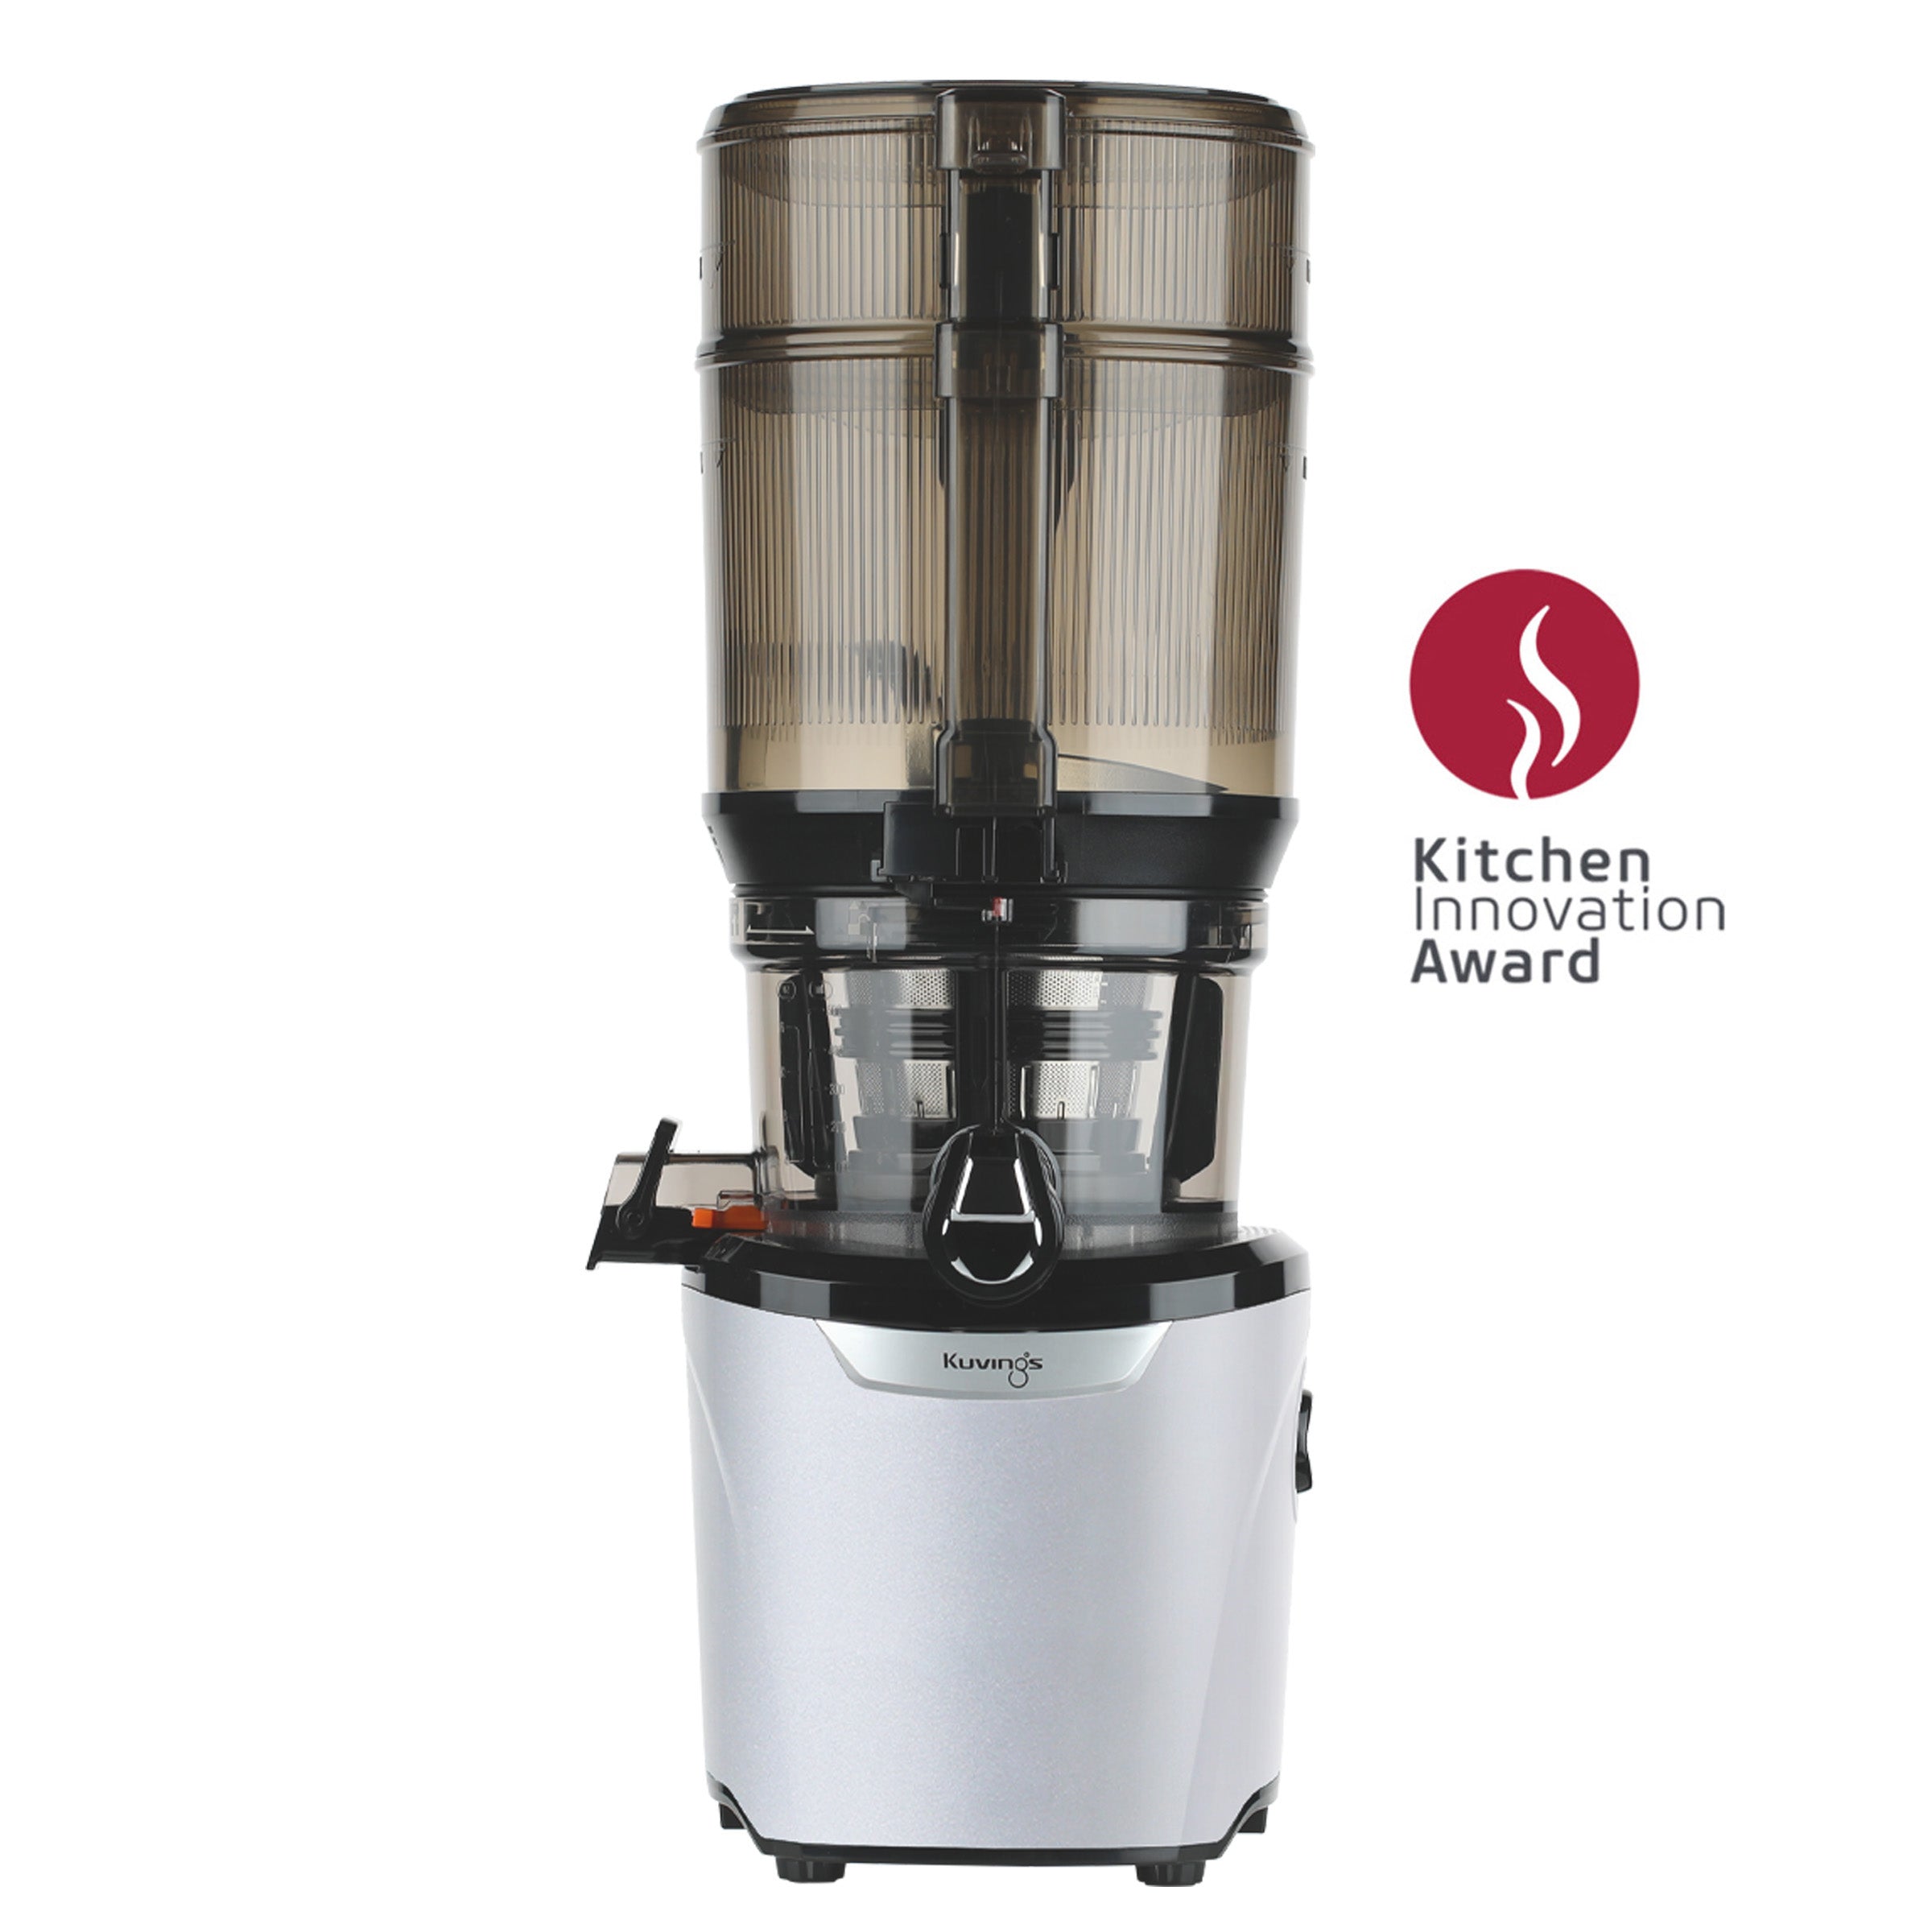
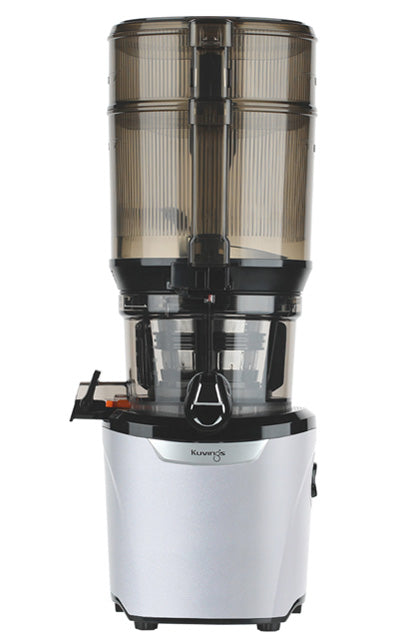
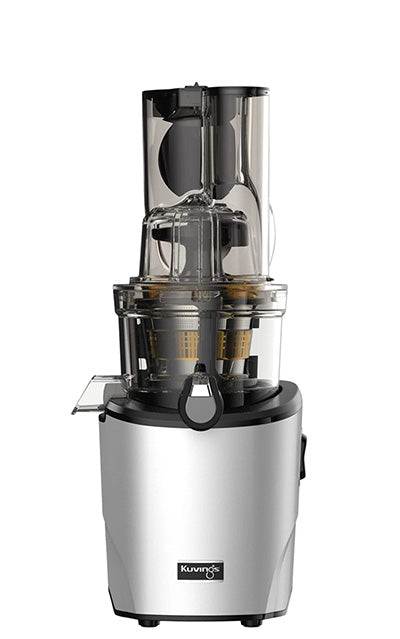
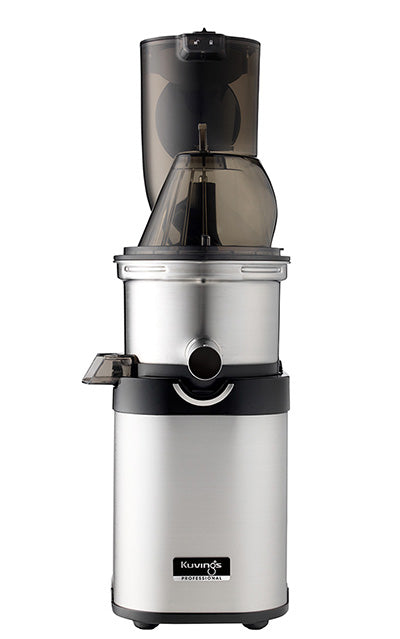
The 6 parts to clean are the hopper, extension, strainer, wiper, auger (screw), and juicing bowl.
2. Use the round brush
Perfectly shaped to scrub in the juice spout.

3. Unlock the pulp outlet
Accessing this chute allows for easy pulp clearing.

4. Clean the auger
Finding pulp in the auger cavity is normal; use the narrow end of the included brush to get to the excess pulp under the auger. Just the force of water will help to clear it out, too.
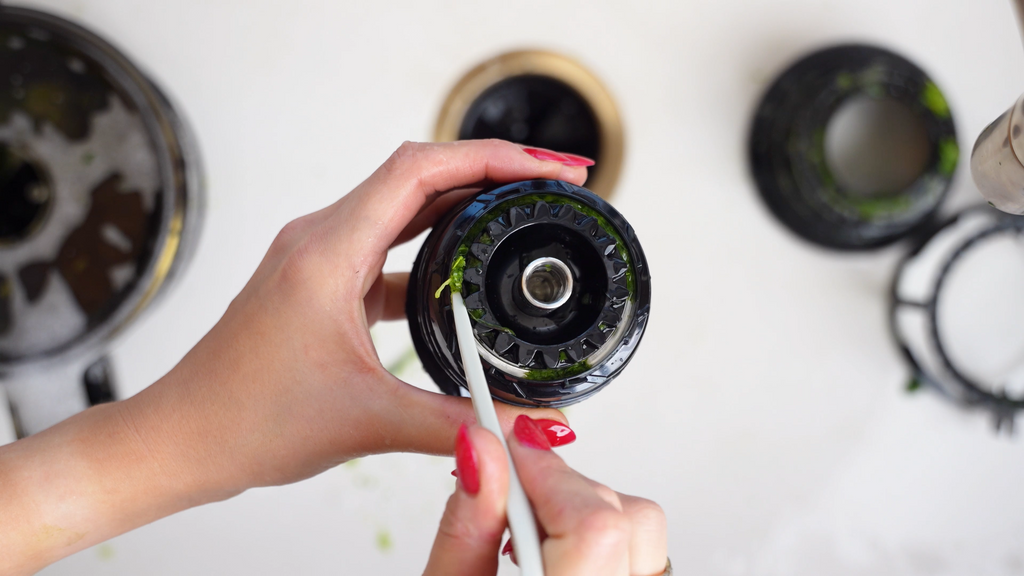

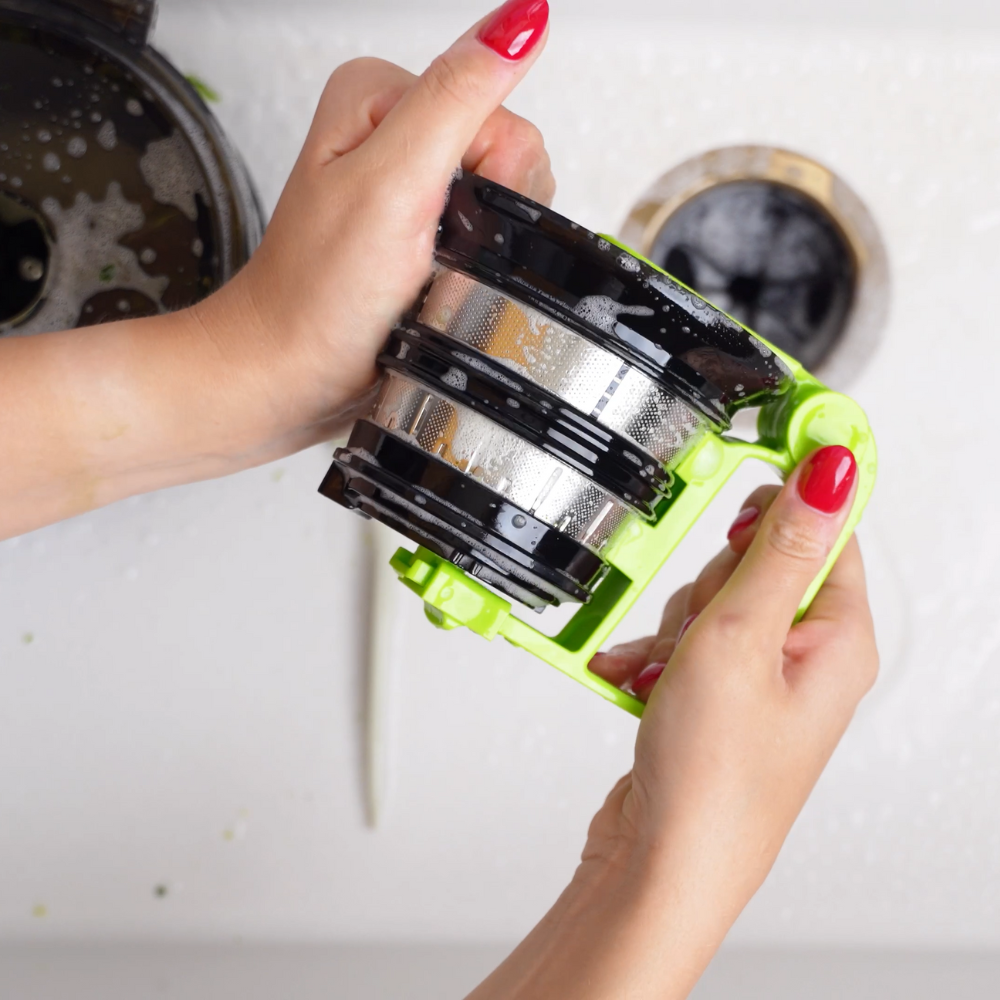
5. Use the green cleaning tool
Lock the cleaning tool onto the strainer, then twist it back and forth all around the strainer under running water. Look closely to make sure no pulp is hiding in the tiny holes!

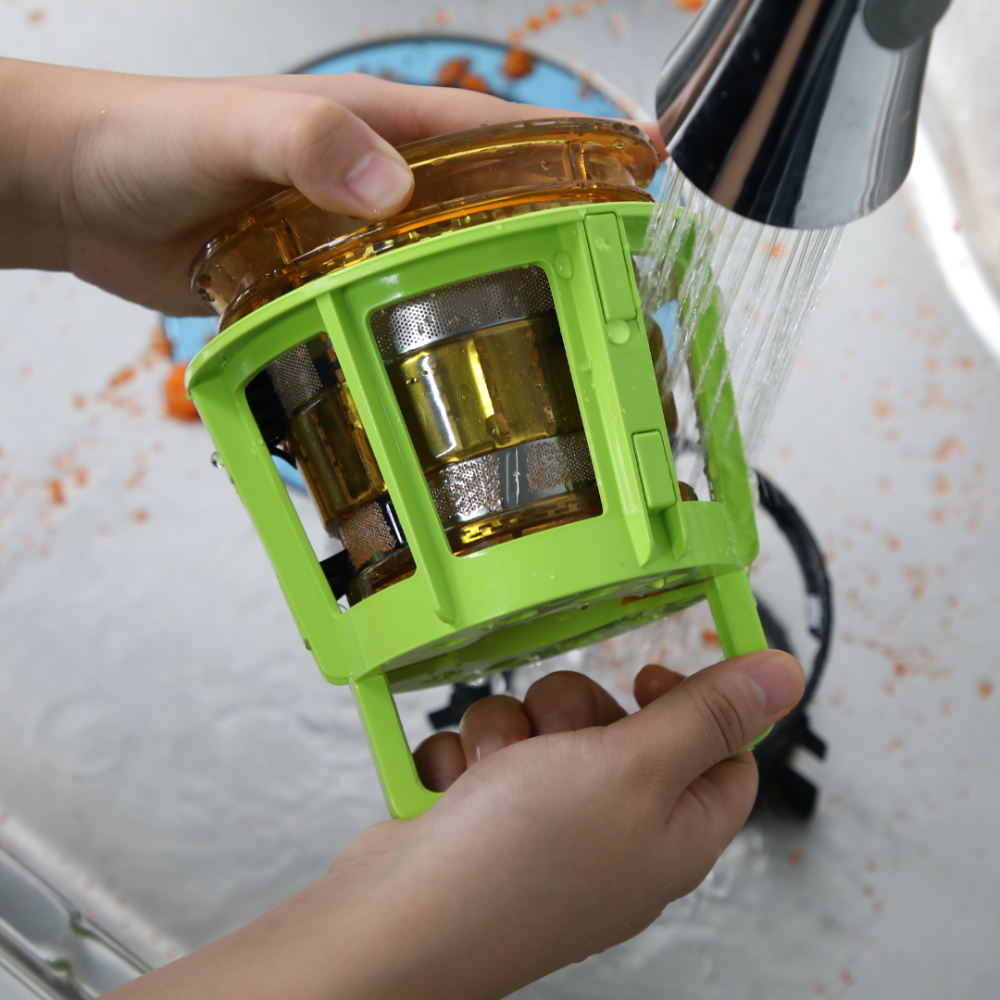
6. Rinse off the pulp and soap
Use the included brushes, a sponge, or a dish scrubber to make sure everything else is clean and debris-free.


7. Let the parts air-dry
Or wipe thoroughly with a soft towel if you want it dried and assembled. Then you’re done! For additional assistance, please contact us.
Loving your Kuvings juicer? Write a review.